The photos on your wall differ from those on your computer for several reasons:
Step 1. Always shoot using the highest resolution

St
Every camera has a certain number of megapixels. Cameras with a larger number of megapixels shoot higher resolution photos. The higher the resolution, the larger a photo can be printed.
Many smart phones have cameras with 12+ megapixels and SLR cameras have even more (sometimes much, much more). In general, even cameras with 8+ megapixels can shoot photos that will look great as 24″ X 36″ wall prints. To make larger, high-quality wall photo prints, you’ll need a camera with more than 8 megapixels.
If your camera produces photos at 8 megapixels or more, you’ll be able to print a stunning wall print without worries!
St
A photo’s resolution is measured in pixels (not inches or centimeters). To check a photo’s resolution, you will need to check the width and height of your photo in pixels. This information is saved in the photo’s data file.
Do you use Photoshop? If so, open the photo in Photoshop and click on Image > Image Size. Make sure the photo’s width and height are set to pixels (not inches, centimeters, millimeters, etc.) This will show you the width and height of the photo in pixels.
If you don’t use Photoshop, no problem! On a PC you can get this information by right-clicking on the photo, scrolling down to Properties, and checking under Details for the photo size in pixels. On a Mac, when you command-click on the photo, scroll down and click on Get Info. Under More Info you’ll find the number of pixels. It’s as easy as that!
Once you have this information, you can use it to check the maximum print size for that photo.
St
While small printed photos are generally printed at 300 pixels per inch (ppi), for larger prints (like wall prints), there’s more wiggle room in the number of pixels needed because of the distance at which they will be viewed. (We’re assuming you will stand at least 12 inches from your wall print when admiring it!)
Fun fact: Billboards are often printed at resolutions as low as 12-15 ppi! Because they’re viewed from far away, they still look great even though the resolution isn’t very high. The same principle applies to large wall prints.
For photo prints that are 24″ by 36″ or larger, Xpozer recommends a minimum of 80 ppi.

With Photoshop you can easily check if your photo can be printed at the size you want.
Follow these quick steps:
Don’t use Photoshop? This handy chart will allow you to check your photo’s resolution before printing, based on your camera’s megapixels (assuming that you shoot at maximum resolution).

Checking your photo’s resolution is an essential part going from a photo on your screen to stunning wall print. By using the above tips, you can be sure that your photo’s resolution is high enough to print big!
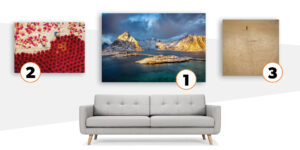
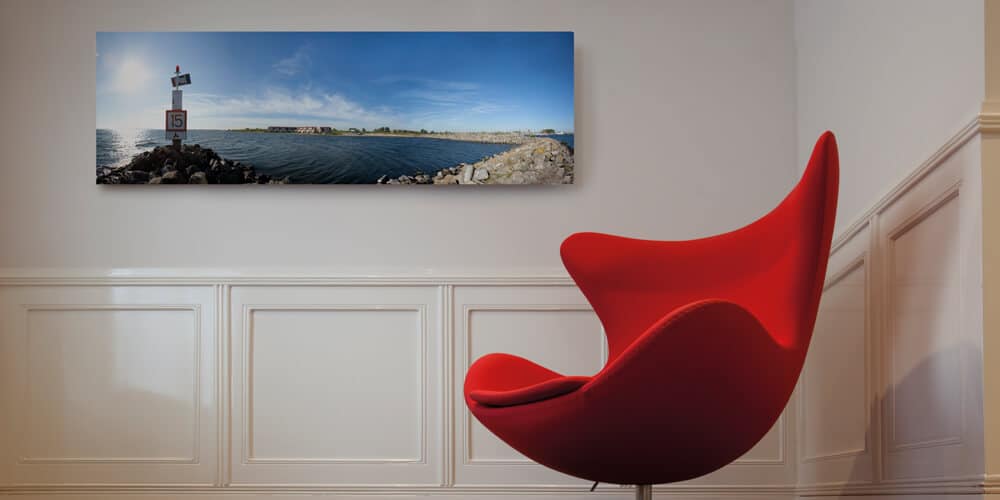
Check out Xpozer’s large selection of photo print sizes to get an idea of how big a photo print you want to hang in your home.