Making a selection of the photos you’ve taken can take up a lot of your time. Luckily, Adobe Lightroom can help you structure the process! In this article, I’ll take you through the (possible) steps to start working more efficiently!
Sometimes, after a big shoot or a trip somewhere, we come home with hundreds or even thousands of photos on our SD cards. Making a selection of the files can take ages, if not done in a well-structured way. And then you haven’t even started editing your photos! Are you using Lightroom Classic? Then watch the video. Are you a user of the ‘new Lightroom’? Follow the steps below the video.
How to make a selection using Lightroom Classic
If you’re an old school Lightroom user, you might use Lightroom Classic. Our lovely course leader Anne explains how to make selections using Lightroom Classic. This video will tell you all you need to know to start optimizing your your photo selection process.
So, how can the ‘new Lightroom’ help you make a selection?
The non-classic version of Lightroom looks a little bit different. That’s why I’ve also made a guide for this version.
To start out, save all your photos in a folder on your computer or storage device. Give it a name that you’ll recognize easily. Done? Go to step 1.
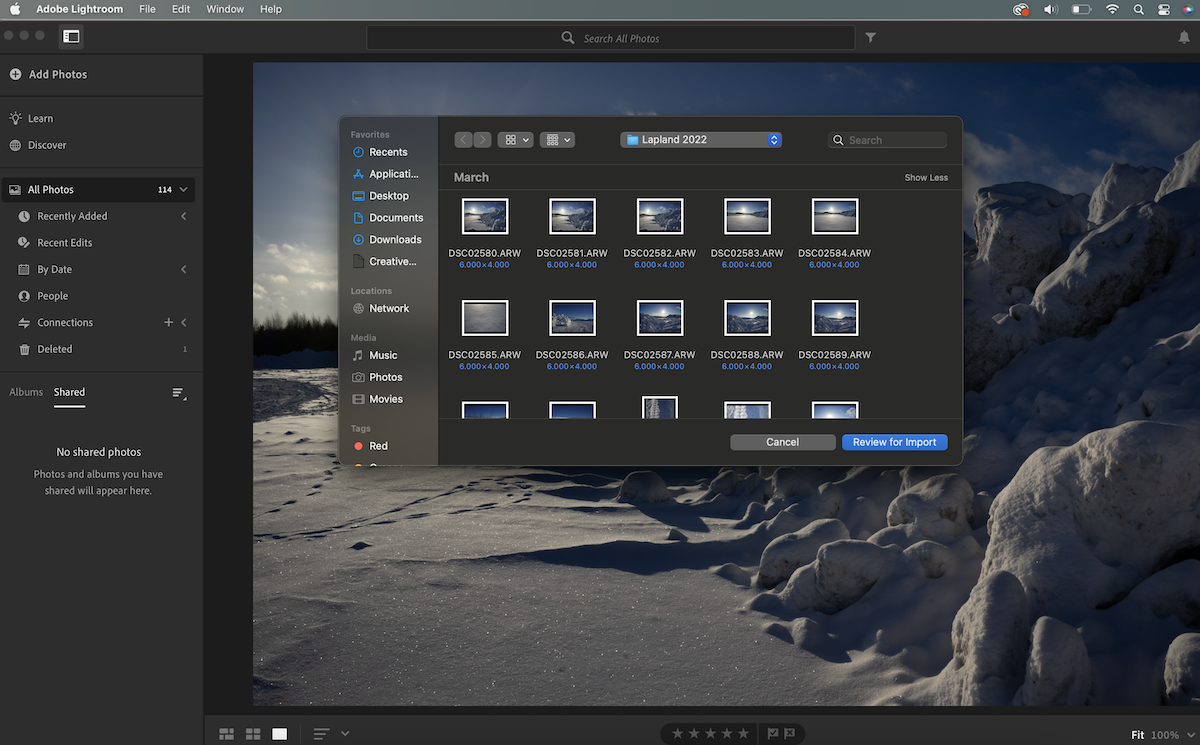
Step 1. In Lightroom, click the +Add Photos button.
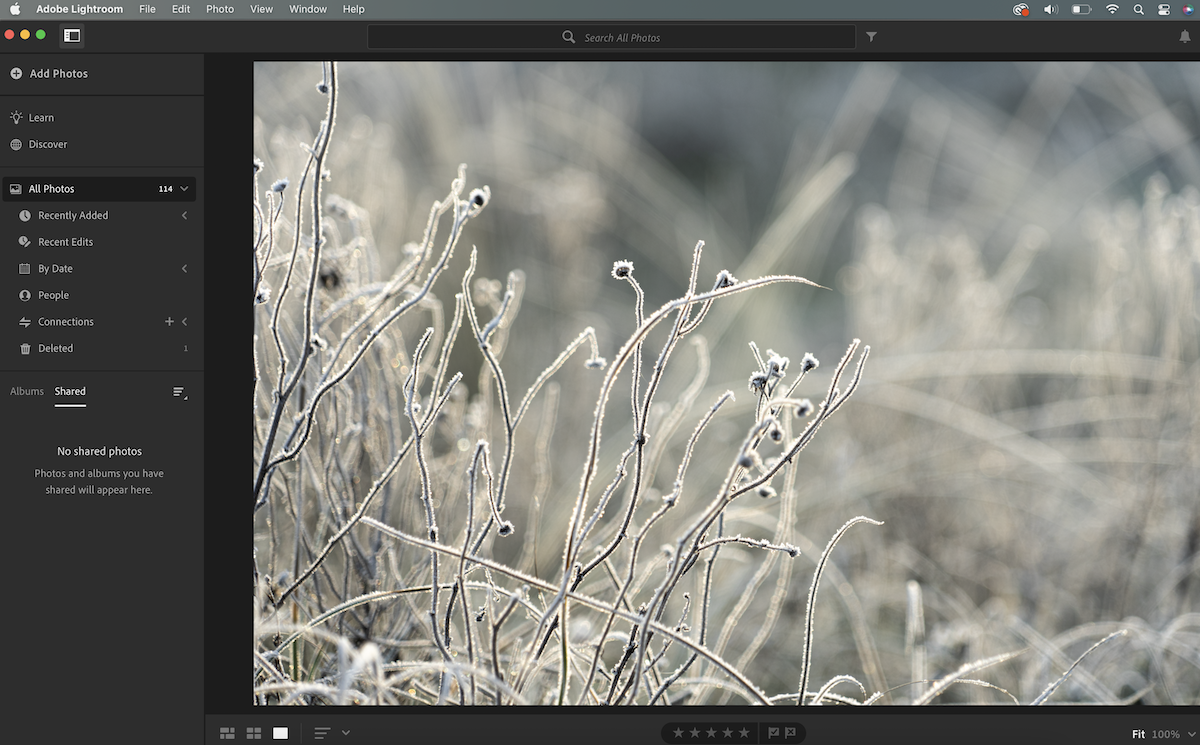
Step 2. Look up your folder in the new window that opened up. Click the Review for import button.
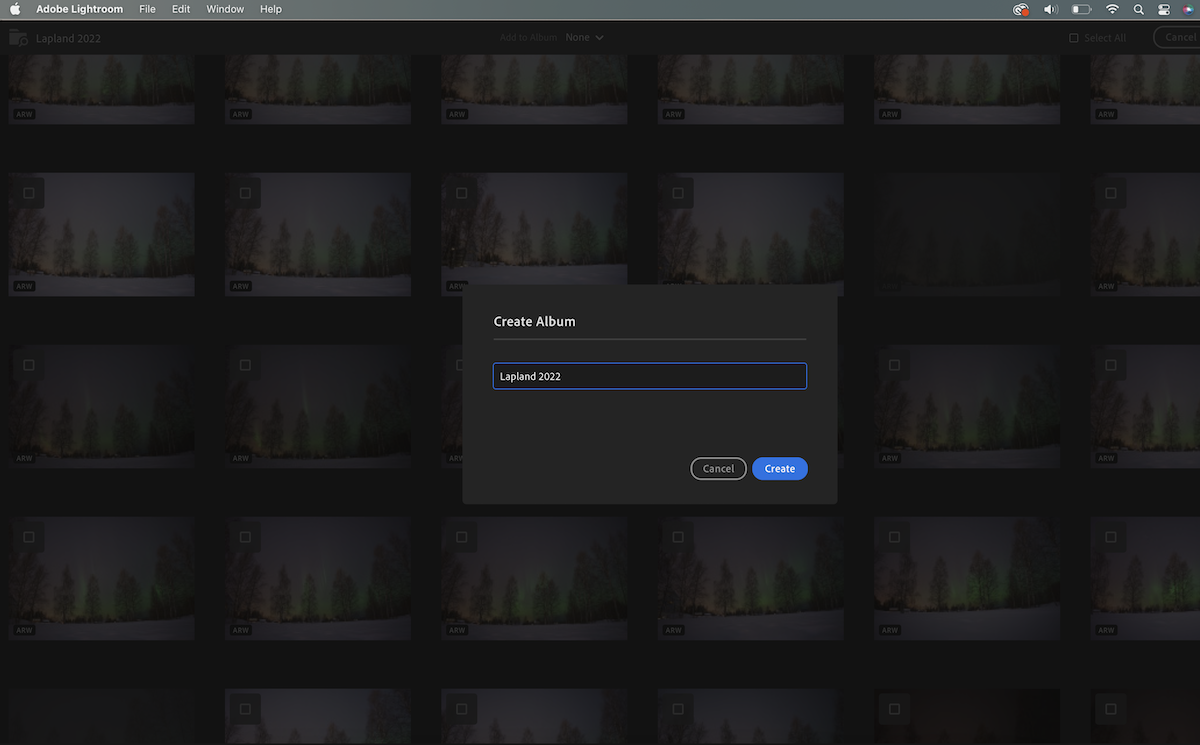
Step 3. In the top bar of the screen, click the arrow next to Add to album. Create an album for your photos. The same name as the original file folder can be used, for example.
Step 4. Add all together, or make your first selection here. I’d recommend to just import the entire folder, and make a selection after this step.
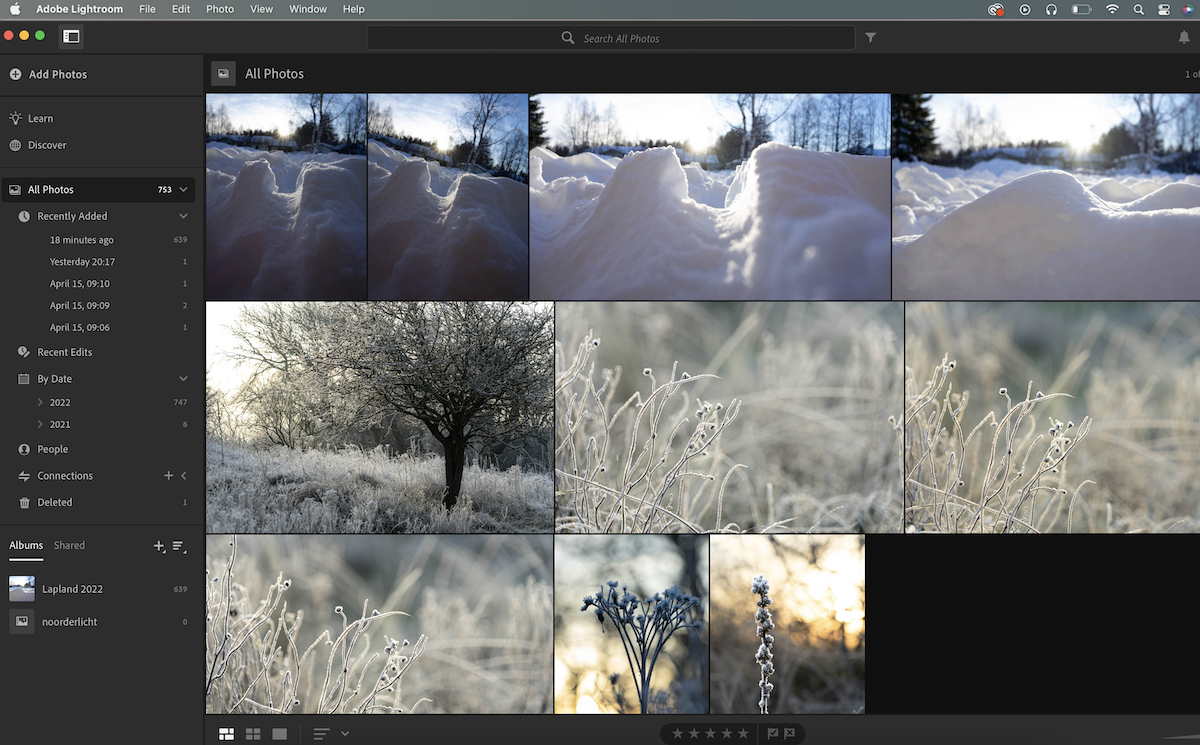
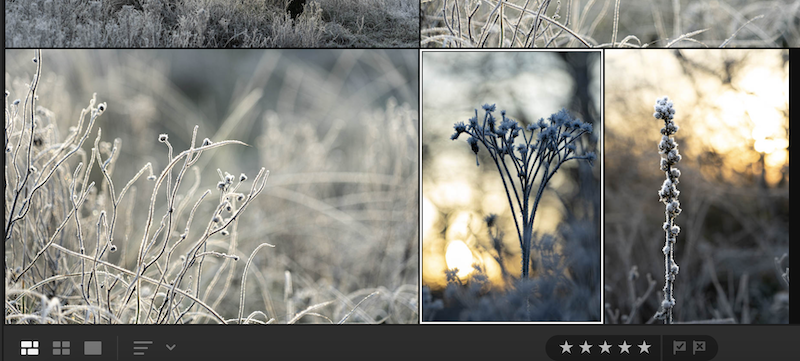
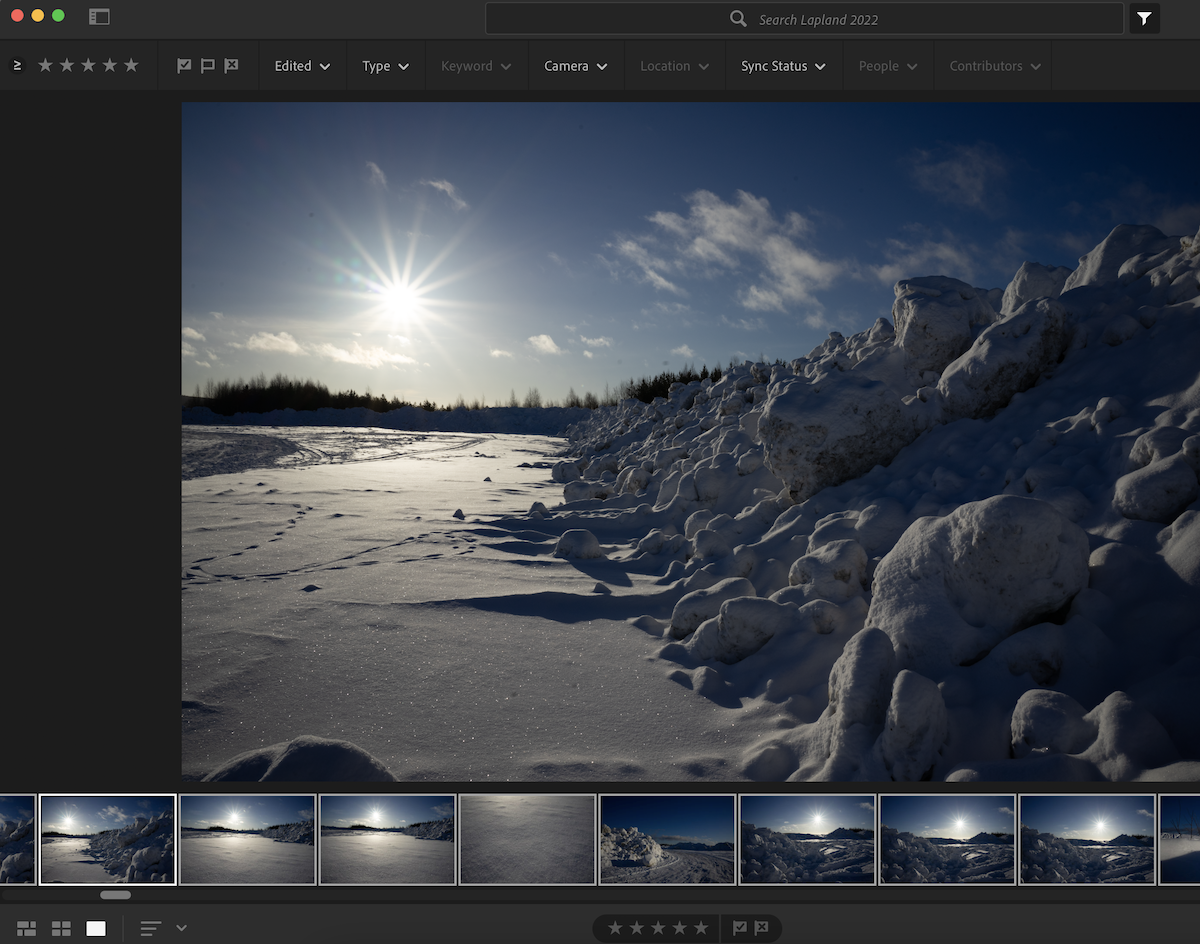
Step 5. In the bottom left under the photo thumbnails, choose the view. Get a view of lots of photos at the same time, of view them one at a time. Click a photo and rate it with 0-5 stars.
You can use the flags next to the rating stars to make it easy to select all of the edited and finished photos, later. I highly recommend doing this. It saves time.
Edit the photos in your selection
Doubleclick a photo from your selection to start editing. The editing panel on the right of the screen will open. Edit as you like. The edited versions of the photos will be saved into your Lightroom album.
Exporting the edited photos
When you’re done editing, you’ll probably want to export the photos into a file folder on your computer or storage device. The flags and/or stars come in handy now. Use the filter button next to the search bar to make a selection for exporting.

Make a selection either by the amount of stars given to photos, or the flags. My system:
– During the first selection I’ll use stars to rate photos.
– When done editing a photo, I’ll give it a flag with a ✓.
– When exporting, I filter the photos by flag with a ✓, and export all of these flagged photos.Do you have other tips to share? Please let us know in the comments below!
More on saving and editing your photos:
Read this article on preparing a photo for large-size printing >
Learn about saving photos and file formats >
Read this article about choosing a photo to hang on your wall >
Have fun learning from our blog posts!

