Making an Xpozer collage is a cool idea, but can feel a bit daunting. The composition makes or breaks your collage. A well-composed collage brings out the best in your photos and forms one, well-balanced out, awesome work of art. No worries 🙂 We will help you get through your collage process in just 4 steps!
1. Select your photos
Your photos don’t necessarily have to match color-wise or composition-wise. However, an overall theme could provide some tranquility for your photo wall.
Choose your best photos and make sure there are no accidental distracting misfits. A monochrome photo collage with 1 photo in sepia, might be distracting. If you want to add a misfit, do it consciously and to add some spice to an otherwise flat or boring collage.

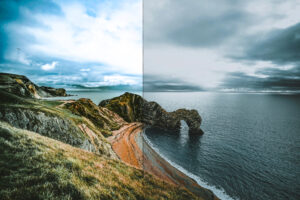
If done well, a different color can take your Xpozer collage to a higher level. In a collage with mostly blue tones, one orange photo can be a surprising, fun element in your collage.
2. Choose shape
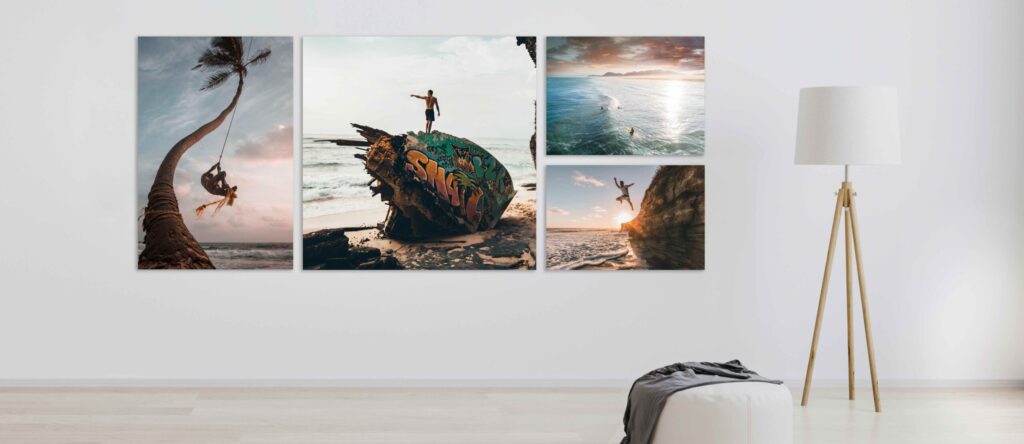
The shape is very important for the look & feel of the collage. If you choose a square or rectangular shaped Xpozer collage, make sure to focus on the outlines and spread the photos evenly within those outlines.
If you choose a messy look, which is supposed to be a fun, personal focus point in the room, focus on the space between the photos and make sure they are in balance.
Evenly distribute smaller and larger Xpozers, or have the bigger ones in the middle, and the smaller ones on the sides. Decide whether you want equal spaces between Xpozers, or if you want it to be a bit messier. It’s a matter of taste, and it’s totally up to you. Just make sure to make conscious choices.

Your photo collection might be prettiest in one straight line on the wall. This could be very pretty in a long and narrow hallway, for example. If you choose same-sized Xpozers, it’s easy. Just make sure to keep the same distance between the Prints. Different sizes? Keep them horizontally aligned in the middle, or make sure to keep all tops or bottoms aligned. Again, it’s all a matter of taste. Take into account other elements on the wall or against the wall. Make decisions based on the surrounding area.
3. Move your photos around!
Move the photos back and forth, and shuffle until you get it right. Even before your Xpozers have arrived you can start making your composition. Cut paper or cardboard into pieces that correspond with the Xpozer sizes you have chosen (you can also cut paper or cardboard to scale).
Put them on the floor or tape them on the wall and create your composition. Make sure to have a simple, non-distracting background. A multi-colored rug or clutter on the floor might form a distraction. Shuffle your pieces of paper or cardboard on the floor until you feel it’s perfect. Of course, you could also tape them on the wall to make sure it’s exactly how you want it.

Tip: Take a photo of your composition! When your Xpozers arrive, you’ll want to remember exactly what your collage plan was when you laid it out on the floor with paper or cardboard. So, take a photo as a reminder.
4. Hang it on the wall
You can use your pieces of paper or cardboard again to drill the holes in the wall.
Be careful! With other wall art systems, like with photos on canvas or metal, the mounting hook is on top of the photo. Xpozers in landscape orientation are attached in the middle of the Frame. Take this into account when measuring and drilling holes in the wall.

The end result
You now have a few pointers for making your own awesome collage. We are very curious to see your end result! Share your Xpozer collage on social media mentioning #MyXpozer. Do you have more tips for cool collages? Let us know in the comments below!