How do you work with natural light? When you’re outdoors, or at a location that has loads of daylight, you as a photographer are dependent on the lighting conditions of the moment of the shoot. This asks for a different approach than working with studio lighting, which is constant and exactly how you want it to be. There are no buttons for brighter daylight, more clouds or stormy weather, unfortunately. So, you’ll need to get to know your camera’s settings to capture the available light in the best possible way. Natural light changes depending on the time of day and the time of year. Here are our tips for shooting with natural light.
Know your gear
If you know how to operate your camera well, you can quickly find the right settings. Speed is of the essence when working with ever-changing lighting conditions. A cloud can suddenly slide in front of the sun, changing the light drastically. You’ll need to quickly be able to change the white balance, shutter speed and/or ISO. Many photographers like working with the M mode, which lets you manually adjust both shutter speed and aperture. Some might choose A mode, which lets you only adjust aperture manually. The shutter speed will be set automatically, according to the lighting conditions. For shooting moving objects, you would choose A mode, which lets you manually set the aperture, but not the shutter speed. Choose your own favorite mode depending on the subject and the lighting conditions.
Different kinds of natural light
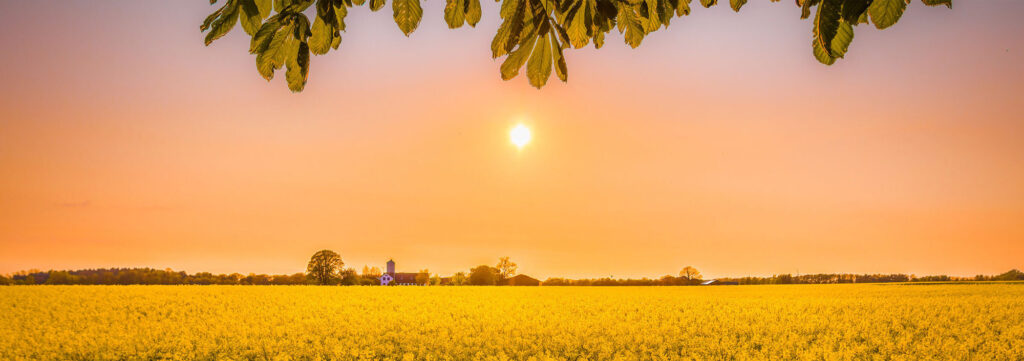
Light changes during the day. In the hours before sunrise and after sunset, the light becomes blue. These are called the blue hours of the day. Just after sunrise and just before sunset, the light turns yellow/golden. These are called the golden hours. Clouds have a major effect on the lighting conditions. Clouds diffuse the light, just like a softbox in a studio.
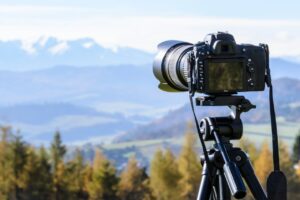
Use your favorite apps to determine where the sun is at what time of the day, and check the weather forecasts. When planning an outdoor shoot, always keep in mind the location of the sun, the angle of the light and where it’s going to be sunny or shady. Even though you cannot control the weather or the sun, you can use it to your advantage with a little smart planning.
Set white balance correctly for natural light
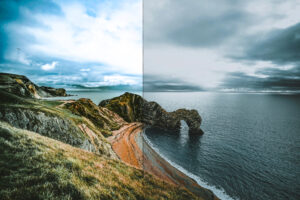
Light doesn’t just have a brightness level, but also a color. You’ll probably recognize a lighting problem in this photo:
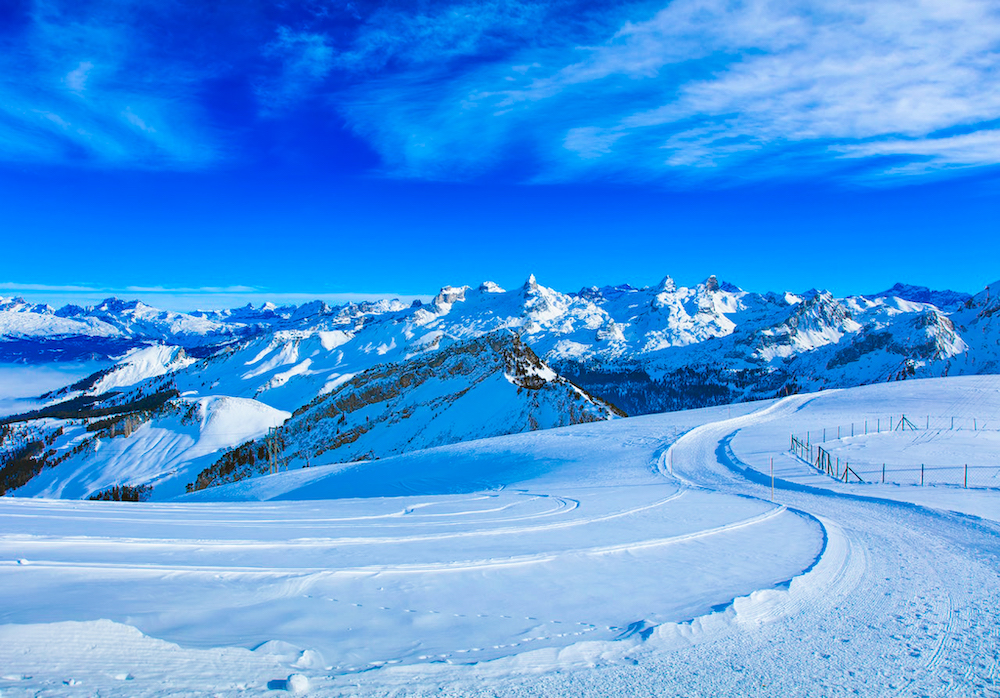
Yep, the snow is blue in this photo.
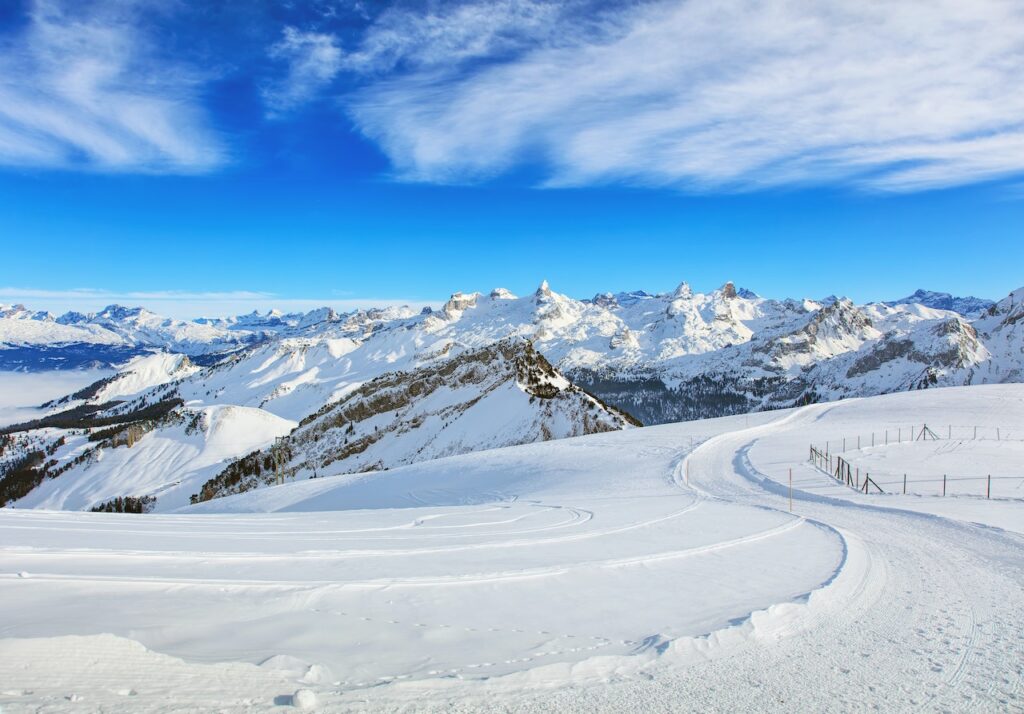
This one, with correct white balance, looks much more natural:
The problem lies within the settings for white balance. White balance can be set to AUTO on your camera. In some conditions, your camera has a hard time choosing the best option. Set the white balance to manual, and choose your own. White balance is measured in Kelvin (K), as it is the temperature of the light. It goes from cold blue, to warm yellow. Use the numbers below to find the perfect white balance setting.
TIP: ALWAYS shoot in RAW (never only JPG). in raw files, the white balance can be adjusted afterwards, without loss of quality of the photo.
Candle light = 1.000 – 2.000 K
Sunrise and sunset = 2.000 K
Indoors = 2.500 – 3.000 K
Fluorescent light = 4.000 – 5.000 K
Average daylight = 5.500 – 6.500 K
Afternoon sun = 6.000 – 7.000 K
Cloudy sky = 6.500 – 8.000 K
Shade on a clear day = 6.500 – 8.000 K
Clear blue sky = 10.000-15.000 K
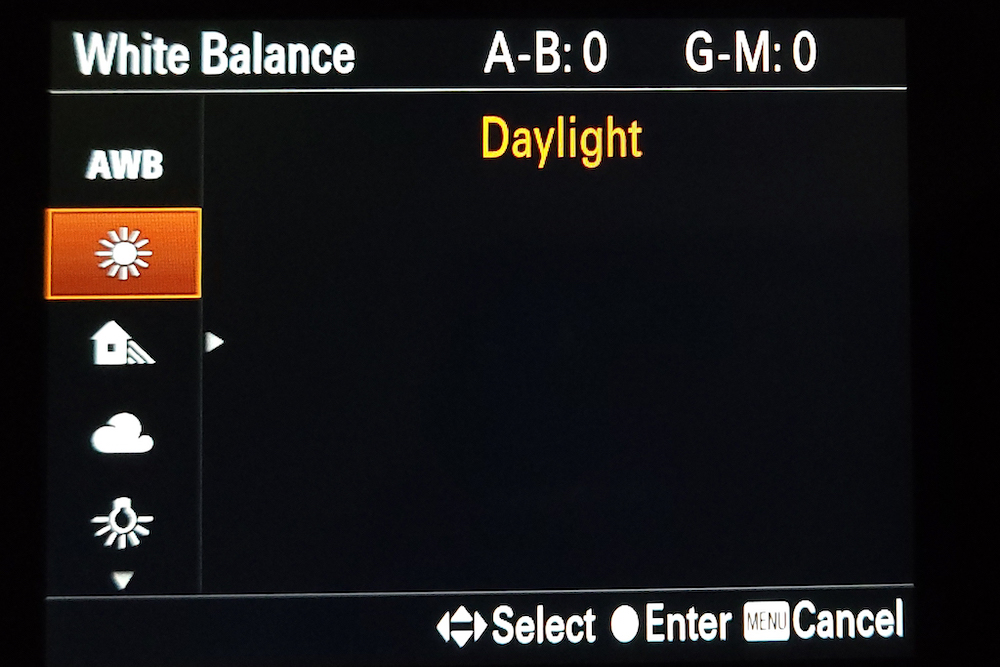
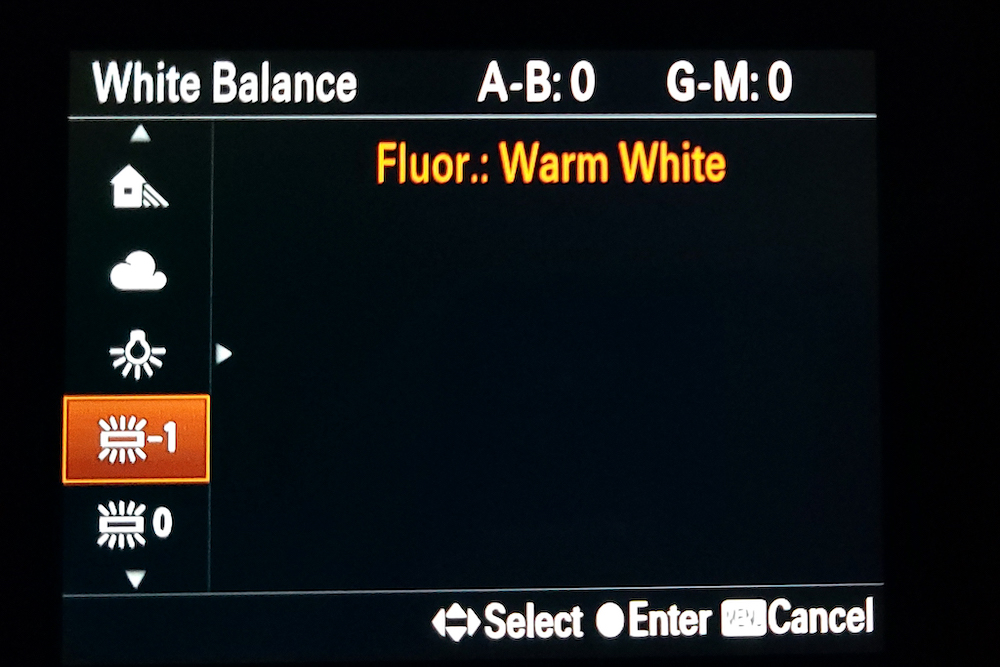
To make this a bit easier, your camera has little icons to choose from. That way, you don’t have to know the numbers by heart. If you choose AWB (Automatic White Balance), your camera chooses what it thinks fits the situation best. In most situations, this works fine. In some, not so much. Snowy landscapes, for example, are difficult for your camera. Choose the sun or the cloud in that case. Choosing the white balance correctly during the shoot, saves some time in post.
The luck factor when working with natural light
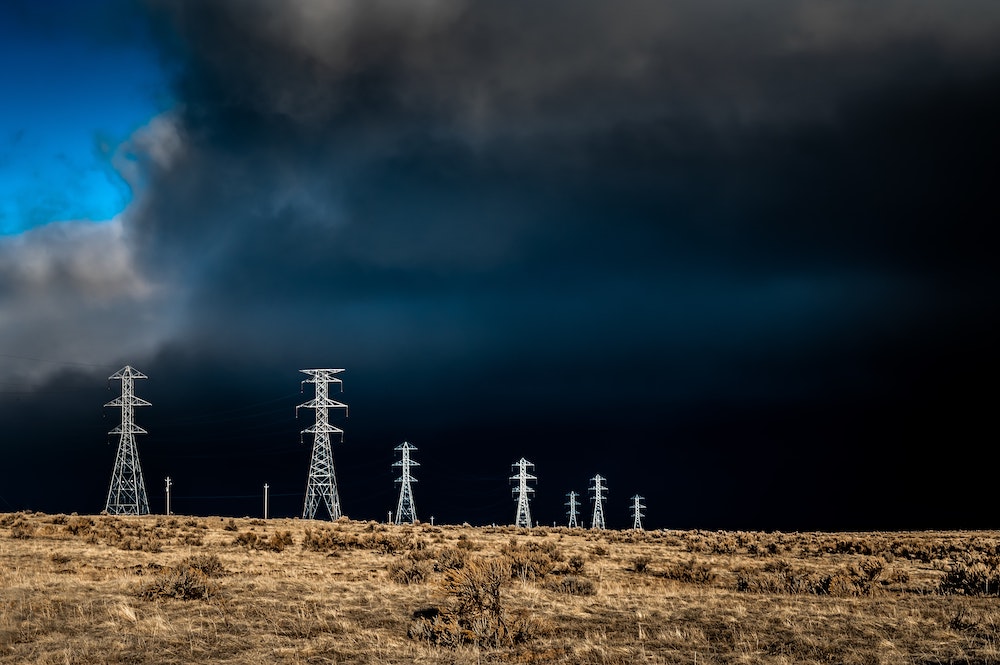
For dramatic, impressive photos, you’ll want to have pretty light. Combos of stormy, rainy and/or sunny weather are ideal to take incredible photos that stand out. The photographer of the photo below, Brett Sayles, had a lucky moment and was ready to shoot in time for this shot:
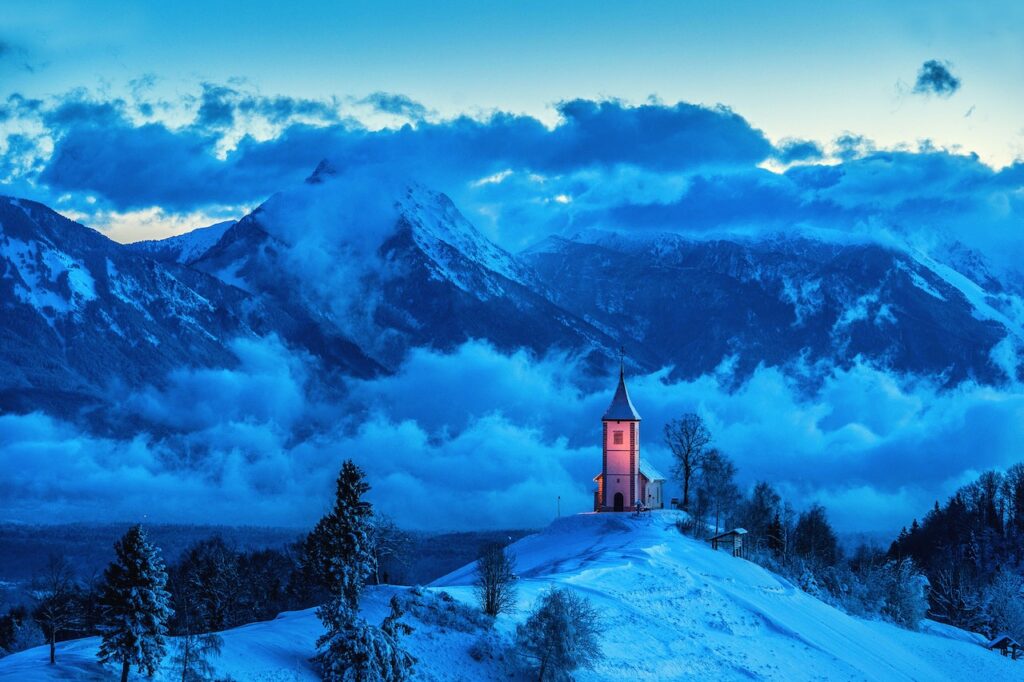
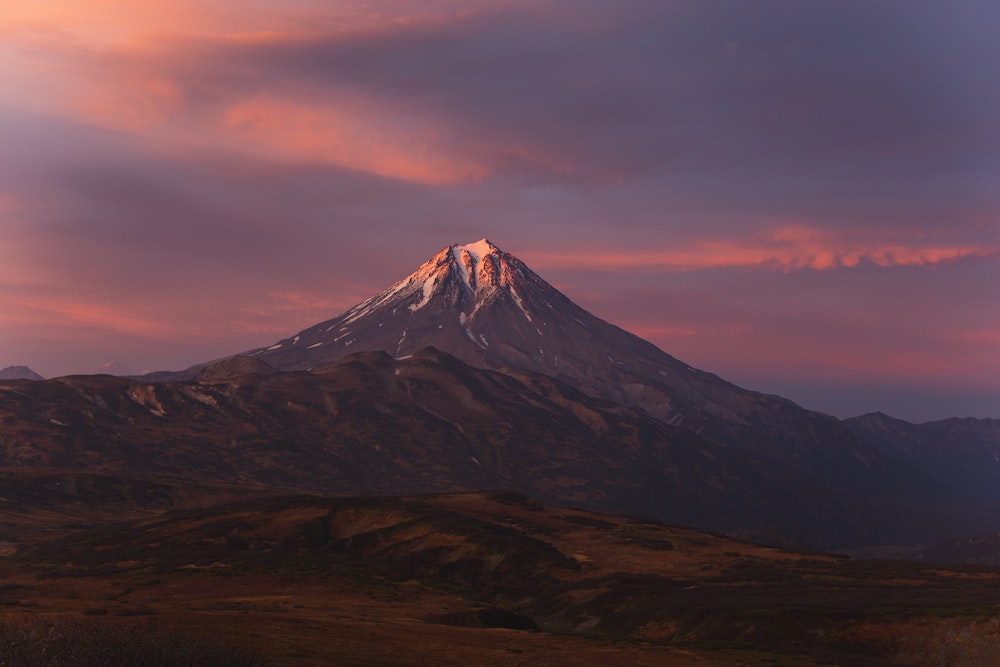
Roman Odintsov also captured a great light moment, when they captured this pink mountain landscape. You can plan for such a moment in advance, but even then, luck is still involved. The way the light hits the mountain: plannable (know where the sun is at a certain time). The pink color and the clouds: not plannable.
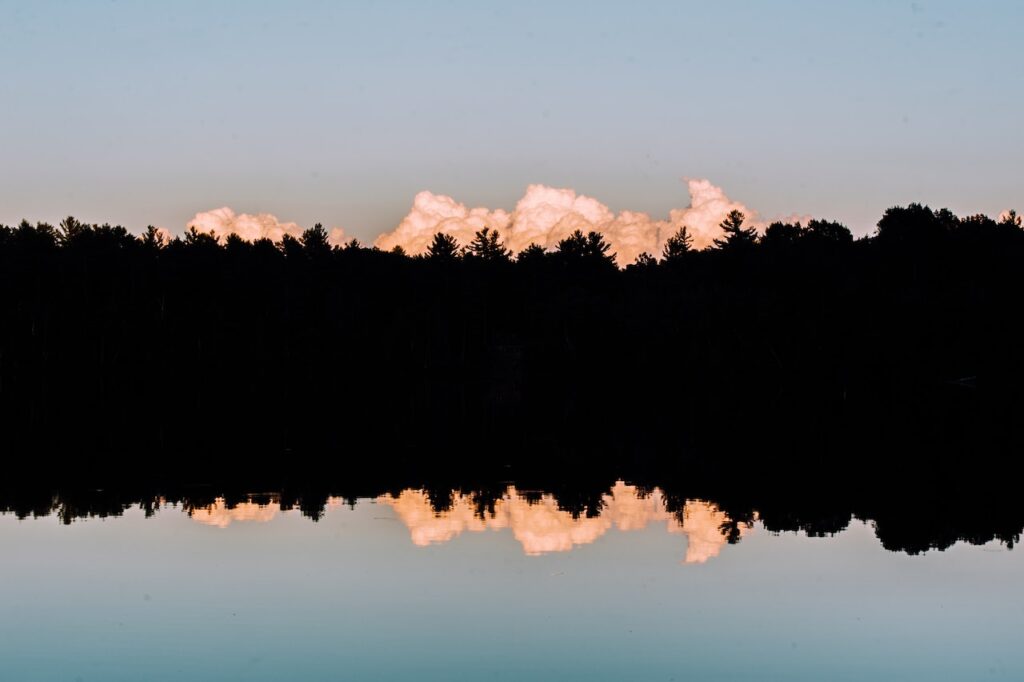
Play with backlight! Harrison Haines used it in the photo below to make a very beautiful silhouette of black trees.
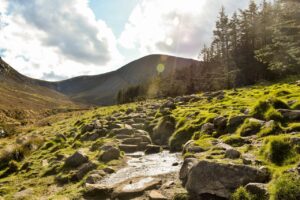
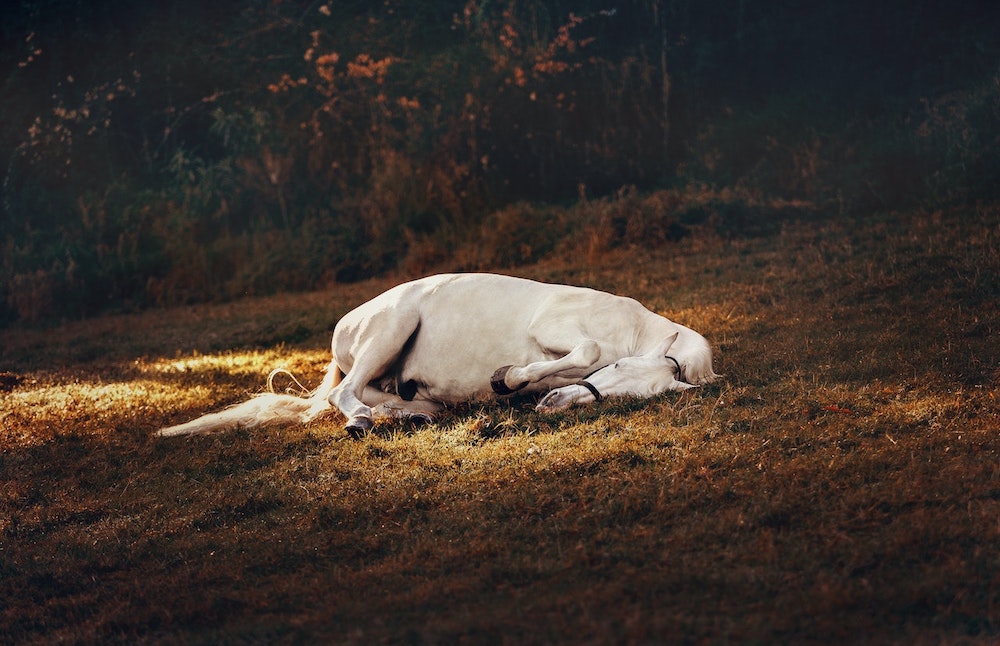
Shoot during the golden hour to get a warm, yellow spotlight for your subject. The horse lies comfortably in the golden light, while shade is all around it. It makes the horse stand out beautifully.
If you happen to stumble upon pretty light, grab your camera and capture it. Beautiful light is certainly not a given, so use it when it’s there.