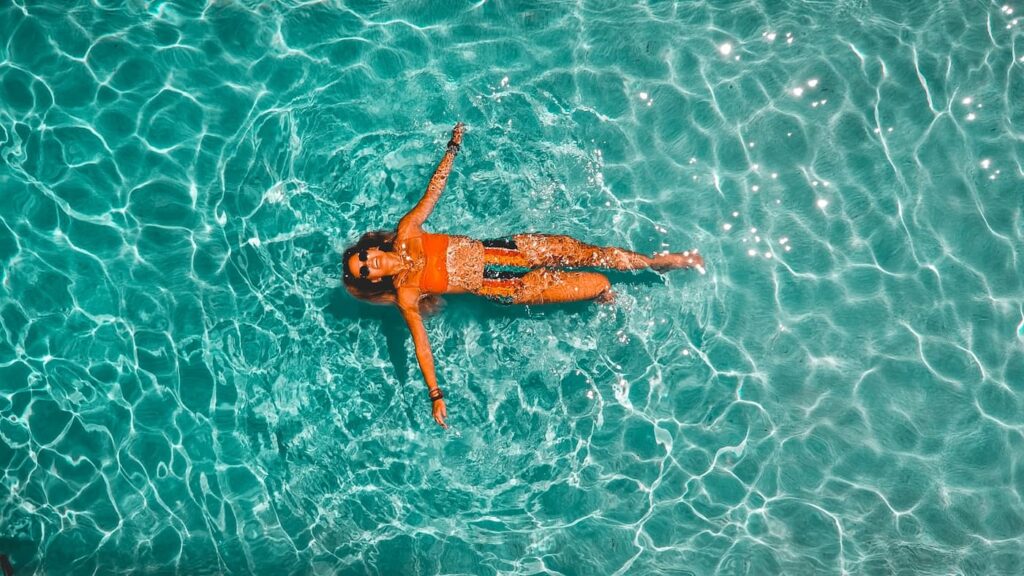
Hurray, we’re so excited to have Filip Staes as our Photo Contest jury! This prize-winning photographer introduces us to the wonderful world of water photography. Pack your things, and get ready to take some seriously awesome water shots today!
What’s so great about water photography?
Water is all around us. It’s the most precious gift of nature. Earth’s surface is about 70.9% water, but don’t forget other forms of water, like snow, ice, clouds and fog.
Water comes in many different forms, so there are many ways to take pretty water photos. Filip’s passion for water started when he watched the documentaries of diver Jacques Cousteau. He inspired Filip to always take his snorkel and mask set on holidays to explore the underwater world. The way it felt to be weightless in such a fairytale place was out of this world.
Filip’s room looked like a cabin of a boat and he had a fishing net on the wall, which he used to display the treasures he found under water. At the time, he didn’t know yet that water would play such a big part in his life and career.
Water is a great photo subject with so many possibilities and challenges!
What do you need for under water photos?
Good under water cameras are expensive. That’s a bummer. But hey, there are cheaper alternatives to get you started on a smaller budget! Great reason for everyone to start their under water photography adventures today, isn’t it?
Under water camera
If you can spare the money, or are willing to invest in your new hobby or career path, choose an under water camera. They are the best option for great quality when diving into the water, without having to worry about water damage to your gear.
GoPro or different action cam
If you want to spend money, but not that much, a more affordable option is to buy an action cam, like a GoPro. They are less pricey, fit your pocket and can film and shoot photos under water. Some need an extra water proof case, so you’ll need to do some research.

Under water casing for your regular camera
There are also casings for regular cameras to protect them from water. They come in different shapes and sizes, for all kinds of cameras. Pro: you can use the regular camera you’re used to. Con: it’s quite scary to dip your beloved camera, that you’ve always protected so well, under water. If anything should go wrong, your camera most likely isn’t going to make it out of the water alive. Always make sure the plastic sits tightly against the lens, to prevent quality loss.
Watertight smartphone case or pouch
There are simple, watertight smartphone cases and pouches. They sell for a few bucks online. The cases and pouches often have wrist bands, which save your phone from floating away or sinking. Note that the quality of your photos will always decrease when you use (cheap) plastic pouches around your camera. If you make sure that there is no room between the lens and the pouch or case, to limit quality loss.
Test the material before using any type of watertight items to use with your camera or phone. You can test it by putting a piece of paper towel in it and shove it under water. Best is to keep it under water in a tub, and move it around a bit. If the paper towel stays dry, so will your camera or phone.
The right camera settings for water photography
The same water can be photographed in many different ways. That’s what makes water photography even more interesting. You can develop your own style while experimenting.
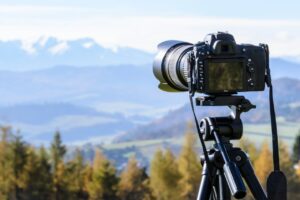
Oceans, rivers or waterfalls are constantly in motion. Choosing the right shutter speed is a big factor of how your photo will turn out. Choose a short shutter speed if you want to ‘freeze’ the water and a long shutter speed if you want that veil-like effect. The best shutter speed depends on the water’s speed. When using longer shutter speeds, always use a tripod. It makes your photos sharper, as there is no motion blur from your own movement.

Waterfall long shutter speed 
Waterfall short shutter speed
Overexposure, underexposure and histogram
Water reflects light. That makes it a but more difficult to avoid overexposure in (parts of) your photo. Play with your shutter speed until you have found the right balance. The aperture plays a big part too. The lower your f-number, the bigger the lens opening, the more light hits the camera’s sensor. A higher f-number gets you a smaller lens opening, so less light hits the camera’s sensor. Make sure to keep your ISO in the lower numbers, if possible, to avoid noise in your photos. These three camera settings (shutter speed, aperture and ISO) combined are called the exposure triangle.

When all your settings are right, your histogram will show a happy little mountain in the center. If your mountain is on the left, your photo is too dark. If your mountain is on the right, your photo is too light. In both cases, information gets lost. Parts of your photos will turn white or black, and the shapes and colors that were supposed to show can never be salvaged again. Well, not without some awesome Photoshop skills. So, stick to a happy little mountain in the middle of the diagram, and all’s good. Or: if you like your photos artsy, bend the rules or break them. Just do it because you want to, and not because you forgot to check the histogram 😉
To avoid the biggest contrasts, you can use a polarizing filter. You can screw it on your lens, and they aren’t too expensive. They remove the whitest whites in the water’s reflections, while protecting your expensive lens.
Editing your water photos
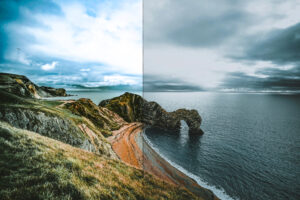
If you take your photos well, there is less work in post. Shoot in RAW and you have more editing options. Using Photoshop’s RAW Converter, you can tweak your white balance without any quality loss, dehaze and play with the dynamic range. Just make sure that you don’t create too much noise while playing with the sliders. Noise can be removed afterwards, sure, but that messes with the sharpness of the photo. So, slide cautiously.
Where to make the best water photos
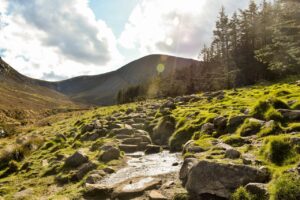
You don’t necessarily need to visit a tropical island to shoot nice water photos. Water is everywhere! Do you have ideas of where to go?
Filip’s favorite place in the world for water photography is Zeeland, The Netherlands. He even organizes road trips through the province to show people his favorite photo locations. He also likes diving there and take aerial photos.
Gear tip for water photography
The more expensive the gear, the better. Especially in photography. But, sometimes you’ll have to work with smaller budgets. Which is possible, too. Digital cameras have become quite alright these past few years. Even the cheaper models are actually quite usable. Just make sure to get your hands on a camera that has a Manual mode (M). Sooner or later, you’ll need full control over all settings. That’s what the Manual mode is for. So, taking pretty (water) photos is possible, even with smaller budgets.
Resolution
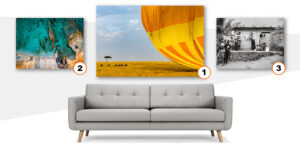
To print your favorite photos on a larger size Xpozer, you’ll need your photos’ resolution to be high enough. When you print your photos, you’ll enjoy them so much more. Make sure they are at least 80PPI (points per inch) to print them on Xpozer, or any other material. If the resolution is higher, you’ll have some more wiggle room when cropping or changing the ratio.
Composition advice from Filip
Even the greatest painters used the composition rules we know and use today. Applying the rules correctly makes your images look well-balanced and more comfortable to look at. That doesn’t mean that you should always blindly follow all rules. Filip has actually won a fair amount of prizes by intentionally deviating from the rules. Make sure your photo is unique and has the wow factor. A member of a photo contest jury once said that they received hundreds of kingfisher photos and they all looked alike. Needless to say, none of them won the contest.
Tips for the use of colors
In post you can edit and replace all colors in your photos. It’s fun to experiment with that and create a personal style with your use of color. Tropical waters have lots of colorful corals and other organisms, but even in Zeeland’s waters you can find some color. Unfortunately, visibility is a problem there. Bring your colors to life in post, but keep it natural. If you want less competition in a contest, send in your best black and white photo.
Tips for who takes part in the Xpozer Photo Contest
Filip is looking for original images, quality and a real wow factor. Use all given tips in this article to help you decide which of your photos to choose.
Originality: Try to do what others haven’t done. This could be a technique, or choosing a different angle. This shows your creativity as a photographer.
Quality: Is your photo in focus in the right places? Did you use the composition rules? How did you use lighting conditions to your advantage? The latter might actually be the most important.
Wow-factor: Let your photo stand out from the crowd. The winning photo might not even be of perfect quality, but it does tell me a story. Sometimes it helpt to put small versions of the photos next to each other. The one that stands out is usually the best one.
So, why should everyone start their water photography adventure NOW?
- There is so much you can do with water as a subject. Imagine of the white veils in waterfall photos. Think of photos taken underneath the water surface. And how about beautiful reflections and amazing lighting? Colorful or black and white: everything is possible!
- Even with a smaller budget, you can shoot great photos, under, on or above the water surface.
- Water can do some very special things with light. Experiment and see what light can do when it touches water.
- Longer or shorter shutter speeds, huge waves or calm little streams, you can choose from so many styles and create your own.
- Did I mention you can take water photos anywhere? From the bathroom faucet to the ocean, anywhere!
- Actually, that leaves us with no reason at all not to try out new techniques or compositions with the subject: water. Did your water photos turn out amazing? Upload your best one in the Xpozer Photo Contest. You can win an Xpozer 4Pack!
Water photos by Filip Staes, get inspired!
You might like these articles as well:
Photo ratio explained: shoot & crop for the best composition

