Ever heard of the exposure triangle? When you just start out experimenting with photography, you’re bound to come up with some questions about lighting and exposure. The most important to know inside out is the exposure triangle. If you understand the exposure triangle, you will understand how to use your camera to capture the most amazing moments, no matter the lighting conditions at that time. Of course decent gear helps, but if you master the exposure triangle and your camera’s settings, you’ll be able to take stunning pictures with a simpler camera, too.

What is the exposure triangle?
The exposure triangle combines the three exposure elements: ISO, aperture and shutter speed. They all intertwine in a way that if you change one, the others will have to change with it. Together, they influence depth of field (the size of the part of the photo that is in focus), the amount of light and motion blur. Let’s explore the triangle!
ISO
The ISO number you choose will affect the camera’s sensitivity to light. In short it works like this: up the ISO, and you will be able to take sharper photos in darker circumstances. A possible unwanted side-effect: the higher the ISO, the more grain will show up in your photo. More high-end cameras will have much less grain issues than cheaper cameras. Still, it is something to keep in mind. The general tip is: keep your ISO as low as possible without losing sharpness.
Use this guide to understand shutter speed as part of the exposure triangle:
Lower ISO number = Less light sensitivity = Darker photo
Higher ISO number = More light sensitivity = Brighter photo
Shutter Speed
When you look at the lens whilst taking a picture, you’ll see the shutter open. The camera’s shutter speed settings determine how long it will stay open for. The shutter speed determines the amount of time the camera’s sensor will have access to light.
The faster the shutter speed, the less light will touch the sensor, as there is less time to let light in. The slower the shutter speed, the more light will touch the sensor, as there is more time to let light in.
So, as you might be able to guess, a higher shutter speed freezes a moving image, whereas a slower shutter speed shows motion blur. Shutter speed is measured in seconds or fractions of a second. So, you could set it to 2 seconds for a longer exposure or you might set it to 1/400 for a shorter exposure. All brands and models have their own limits.
The effects of shutter speed to the exposure triangle:
Slow shutter speed = Longer exposure, so a lower ISO is needed (to avoid over exposing)
Fast shutter speed = Shorter exposure, so a higher ISO is needed (to avoid under exposing)
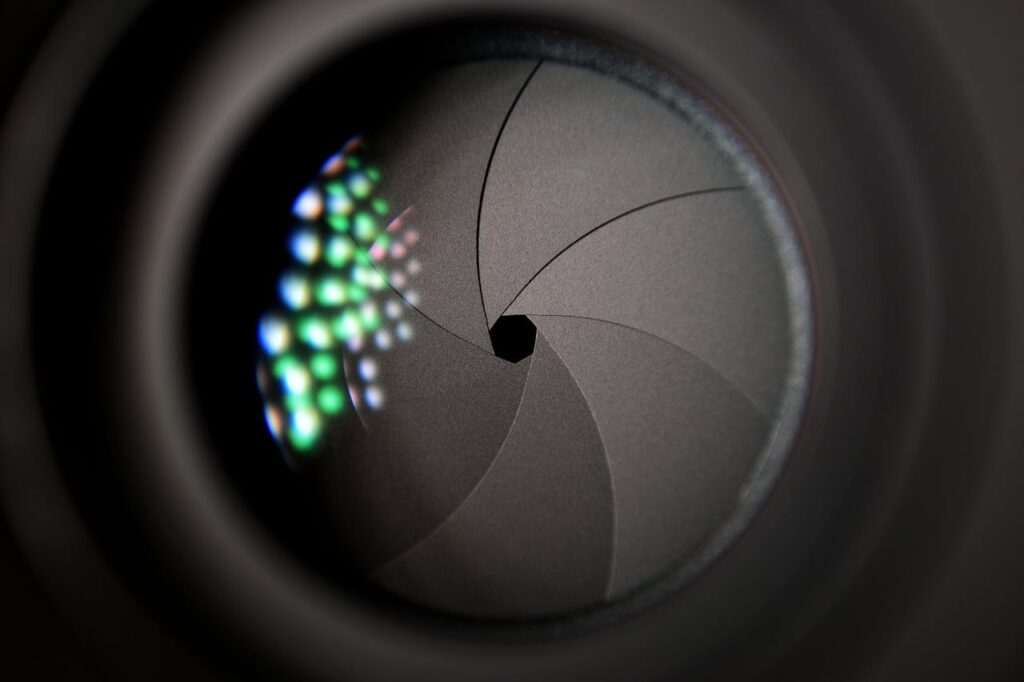
Aperture
The aperture can be defined as the size of the opening of the diaphragm in the lens of your camera. Compare it to the iris in our eyes. Your pupils are like the opening of the lens. They get bigger in darker circumstances, to let more light in, so you can see. In bright light, your pupils become small, to avoid too much light hitting the sensor.
Aperture is expressed in an f number. The more expensive lenses have a lower f-number limit. This means they can let more light in, which creates more sharpness in your photos.
The bigger the f number, the bigger the amount of sharpness in the photo, and vice versa. Keep the following in mind when setting the aperture:
Bigger f number = wider depth of field = slower shutter speed needed = higher ISO needed
Smaller f number = shallower depth of field = faster shutter speed needed = lower ISO needed
How to practice using the exposure triangle
So, now that you know how the exposure triangle works, it is time to practice! Set yourself a few goals and see if you can manage to choose the right settings. Little assignments you could consider are:
- Take 3 pictures of the same subject. One where everything is in focus, one where only one subject in the front is in focus and one where only the background is in focus.
- Take a photo of a room with a window in it. Take one where everything inside the room is in focus and well-lit. Take another one where only the view out of the window is well-lit and in focus.
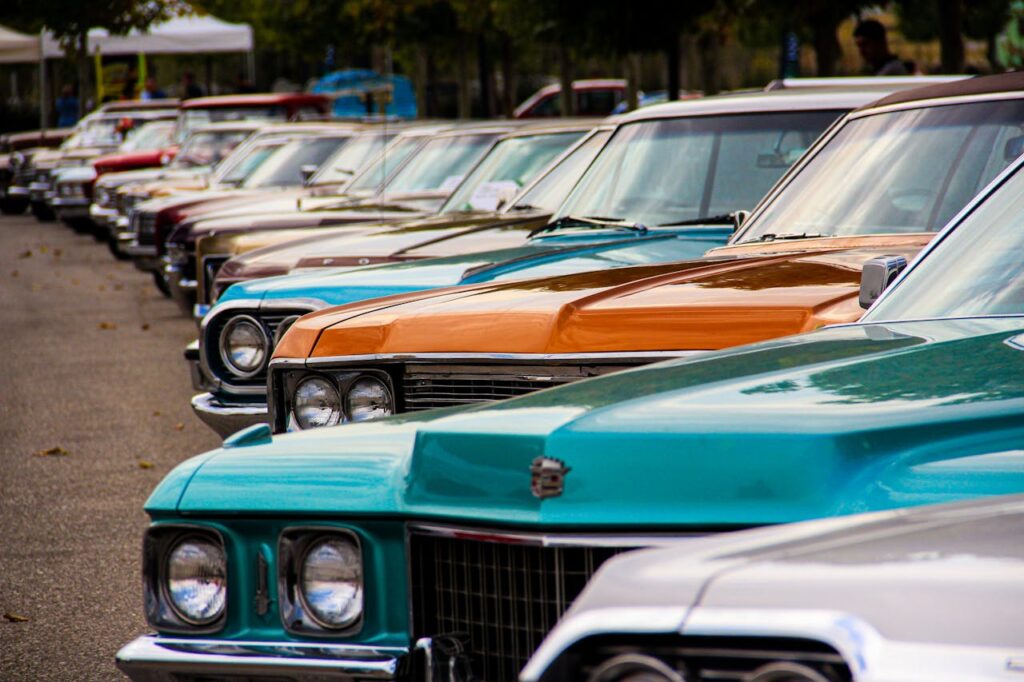
- Take a photo of a row of things, like bottles, cups, cars or figurines. Make sure the row begins near your lens and the last one in the row is the furthest away from your lens. Play with the aperture and see what happens to the depth of field in the photo.
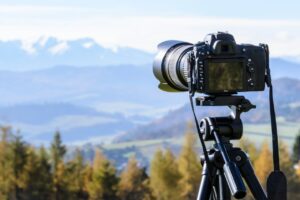
- Take a photo indoors, in a room that is a bit dark. The subject of the photo is a moving object, person or pet. Play with your ISO, aperture and shutter speed to get your subject in focus and without motion blur. Make sure the photo doesn’t become too dark. Tip: you’ll need a tripod!