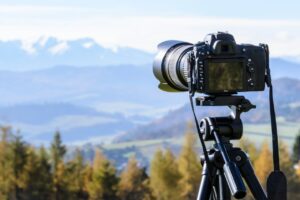
The nights are drawing in as the holidays get closer. It may be getting dark earlier, but that doesn’t mean we don’t have light to play with when it comes to atmospheric photography! From city lights, to stars in the sky, to festive lights, there are so many different light sources we can play with. They all appear around this time of the year and it’s the perfect chance to capture them and challenge yourself to get creative with low-light photography . Don’t forget to submit your image to our photo contest: Inspired by Light!

Cities
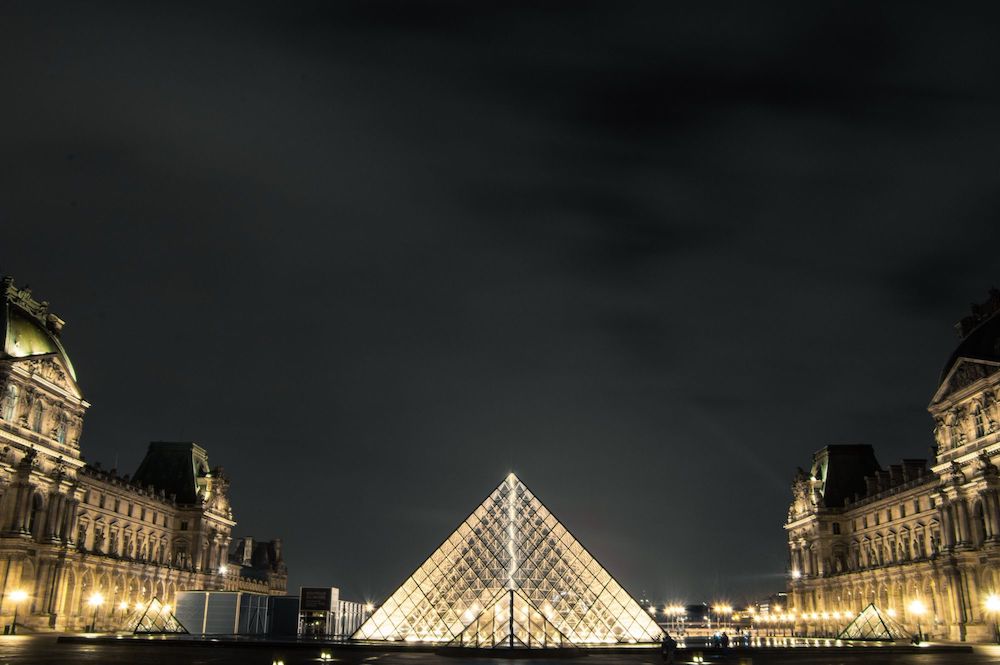
Whether you want to capture the profile or vibe of a city, there’s many ways to get creative with cityscapes and skylines. You can photograph a city with the traffic moving through creating beautiful light trails, use the reflections in puddles and windows or highlight the beautiful architecture in a city. Night photography can be a challenge but, allows plenty of opportunity to be creative with low-light!
TIP: Always shoot RAW, this gives you more freedom when it comes to making adjustments in the editing process and recover details in shadows and highlights.
Skylines(architecture)
A popular pick for photo prints are skylines and in some cases the architecture of seperate buildings. This is something you can shoot handheld or on a tripod. Your settings would depend on which method you prefer as you’d have to take motion blur into account. By using a tripod you can use a slower shutter speed this creates a fun effect for example when you are photographing a skyline by the water the reflection becomes more visible and the water loses a bit of texture, it also allows you to use a lower ISO meaning there won’t be as much noise.
One thing to keep in mind is to turn of your flash, it will only lessen the effect of the lights already there. If you’re using a tripod make sure to turn of image stabilisation, you don’t want to compensate for movement that isn’t there and end up actually creating motion blur. You want your skyline or buildings to be sharp so be sure to use a slightly smaller aperture around f8. As you’ve got your camera on a tripod you can use a slower shutter speed. This means you can keep your ISO low and avoid noise.
If you’re shooting handheld you can opt for the Tv or S mode and choose a shutter speed of 1/60 or faster this does mean you have to use a slightly higher ISO between 600 and 800. In this case you do need the image stabilisation as you’re not using a tripod but again, make sure the flash is off!

Traffic
Whenever you are shooting in a environment with a lot of traffic this can lead to great creative compositions. By using a long shutter speed you can create what is known as a light trail. These trails work amazing as guide lines to view your photo. If you use a long enough shutter speed you create one big trail of light. If you don’t want this and you still want to show some of the traffic you can choose to use a quicker shutter speed to still have the movement of the traffic yet also showing the traffic as a subject to the photo.
Using the light trails of the traffic is a great way of showing interaction in your photos. You can use this to create ease at for example a landmark where it usually is quite busy and you lose sight of the landmark.
TIP: Try shooting your long exposures with a remote control in order the prevent motion blur. If you don’t have a remote control set your camera on a timer, this will also help avoiding motion blur.

TIP: If you’re using a tripod make sure to deactivate image stabilisation when using a VR or IS lens. This WILL cause motion blur as it’s trying to compensate for movement that doesn’t exist
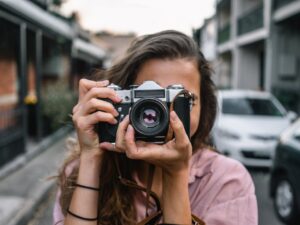
Fun with Focus
By putting your fast lens wide open and then taking a blurry photo, you can create very beautiful effects. Although your photo is out of focus your subject can still look recognizable. When you use an open aperture, you can use a slightly faster shutter speed which means you can easily shoot handheld. Below you can see an example of how a blurry photo can still have a recognisable subject:

Starry Skies
One of the first things we think about when it comes to the night is the starry skies. Therefore this is a popular theme amongst photographers. However it’s not an easy one. With lots of light pollution and often just the moon creating enough light to drown out the light from the stars there’s a delicate balance to getting your settings right. From star trails to galaxy shots, let’s get shooting!
Galaxy
The galaxy is a popular and intriguing subject for photographers around the world. Trying to get a good clear shot of an amazing starry sky is quite tricky. You will need a long exposure to capture the lights from the stars. So a tripod is a must!
Our skies are usually lit up by our cities creating an yellow/orange effect in the sky. This doesn’t help when trying to shoot a starry sky, try to find an open place that has little city light around it. Once you have found your perfect spot set up your tripod and aim for the stars! Use a low ISO, cause the noise of high ISO will effect the stars on your photo, a long shutter speeds to get all the light and a high number aperture, cause you wanna make sure you get as much of the photo sharp.

Star Trails
Shooting starry skies is one thing, but what if you can combine the starry nights with the light trails from earlier?! Yes, star trails! These are best created in an environment without too much city light. Choose an object to focus on and shoot with a long exposure. So basically shoot a starry sky. If you shoot multiple of these photos and merge these together you’ll create a trail of stars. This way you can actually see the movement of the earth!

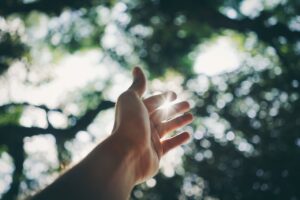
Portraits
Light is often what creates the story and mood in a portrait. From creating fairytale like images to making someone look dark and brooding. Even at night there are many ways to play with light. From using festive lights to city lights, below you’ll find several ways to get inspired by the lights around you.
Bokeh
For shooting in the dark, a fast lens is a big advantage in your arsenal. Especially if you have any kinds of lights in the background(e.g.festive lights). By using a large, open aperture you get a fantastic background for that perfect nighttime image! The effect this gives is known as bokeh.
Bokeh creates a soft, atmospheric image that works well with portraits. It illuminates the face of your model without being distracting. See the example below:

Shaping with shadows and light
As mentioned before, light plays a big part in creating a portrait. Ambient light allows you to create a story and incorporate the atmosphere of your location into an image. You can do this by using reflections in a window or directly by looking at the light and which area of the face it highlights.
By looking at the way shadows and light interact you can create a completely different and unique image. By using the lights and shadows to accentuate certain features you can get some really intriguing portraits. Highlighting certain features can be done by putting your model in front of a light source but also by putting your model in front of one. You could even use the reflection of a light in the window which not only adds another dimension to your image the soft light will create a different look as well. Don’t be afraid to play with your settings. Try using a smaller aperture and upping your ISO a bit more.(don’tgo too high though, you don’t want too much noise in your image)

Silhouettes
There’s many ways to use ambient light into a photo, we’ve learned how to light a subject but what if all the light is in the background? Why not try creating a silhouette. It can be the shape of a person or a building or even an animal or object. It’s a fun way to tell a story as well as add some mystery to your image.

Extra tip: whitebalance
Take your white balance into account when shooting in low-light. Often the light in the evening / night has different colors and this can affect your white balance.

We are interested to see your creative photos with low-light photography! Share yours via Instagram by tagging us and use #Xpozer.