Even if you have some basic editing skills already, editing portraits is ‘a different cookie’, we would say in The Netherlands. By that, I mean that it requires some special editing skills. Nothing too difficult, I promise 😉
Step one: figure out your style
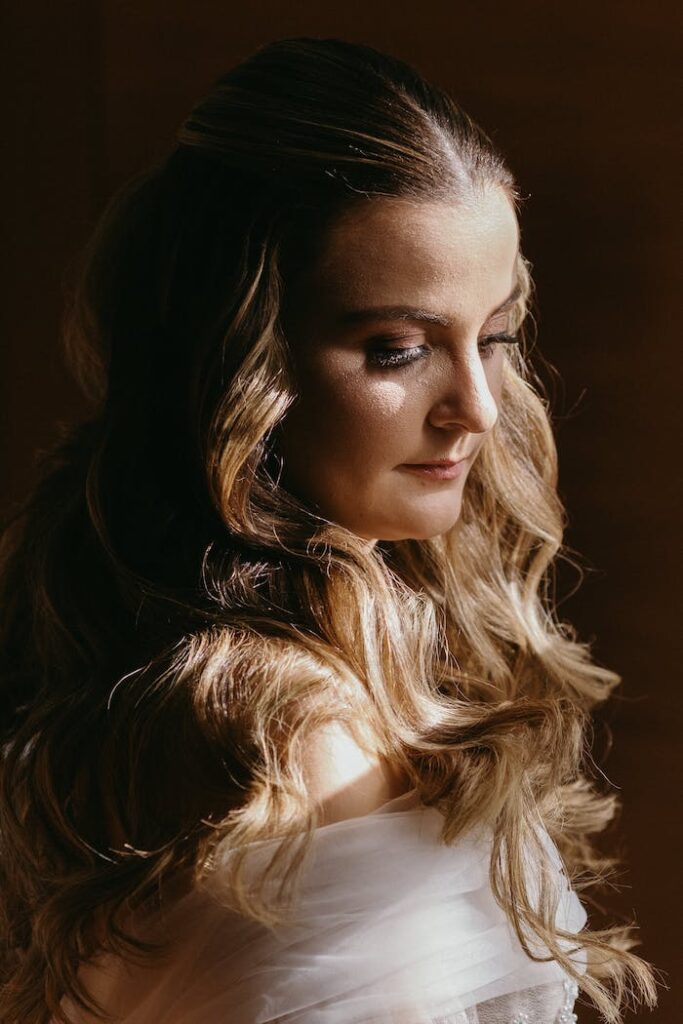
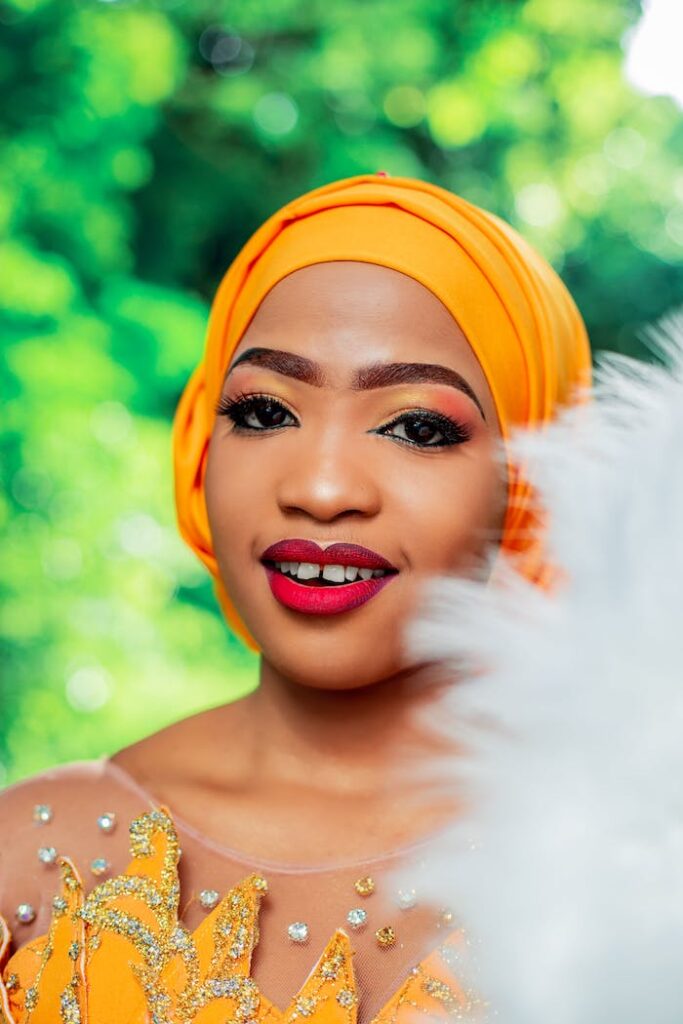
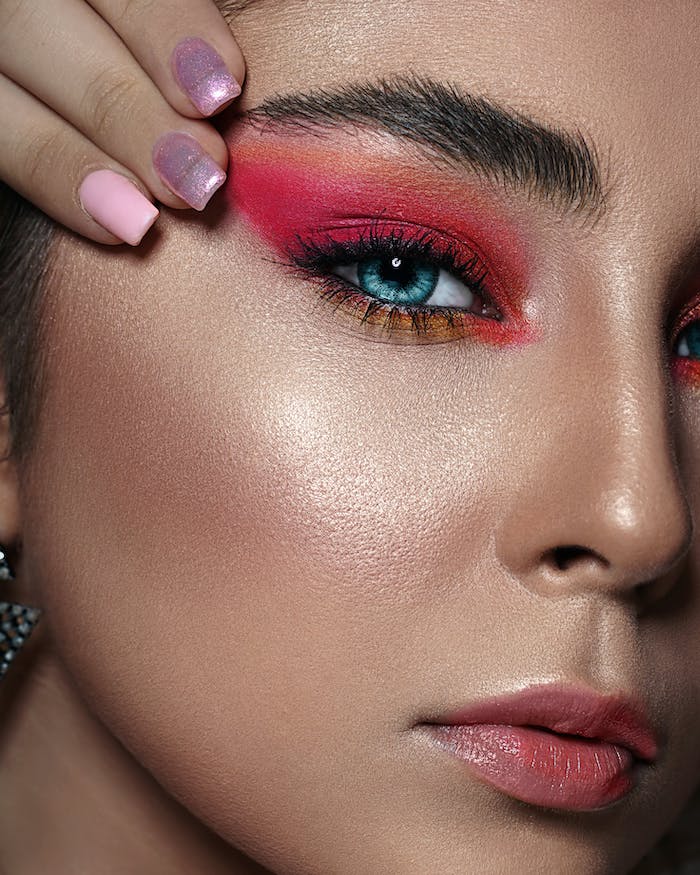
All photographers have their own style in editing. Some are a fan of heavy editing, some like to keep it as natural as possible. Some aren’t sure of what they want and just play with the sliders until they are happy, which is also fine, of course! I have collected different portrait editing styles using a stock photo finder. Check out which ones you like, and which ones are too much/too little/too something to you. Click a photo to enlarge.

Step two: open Lightroom
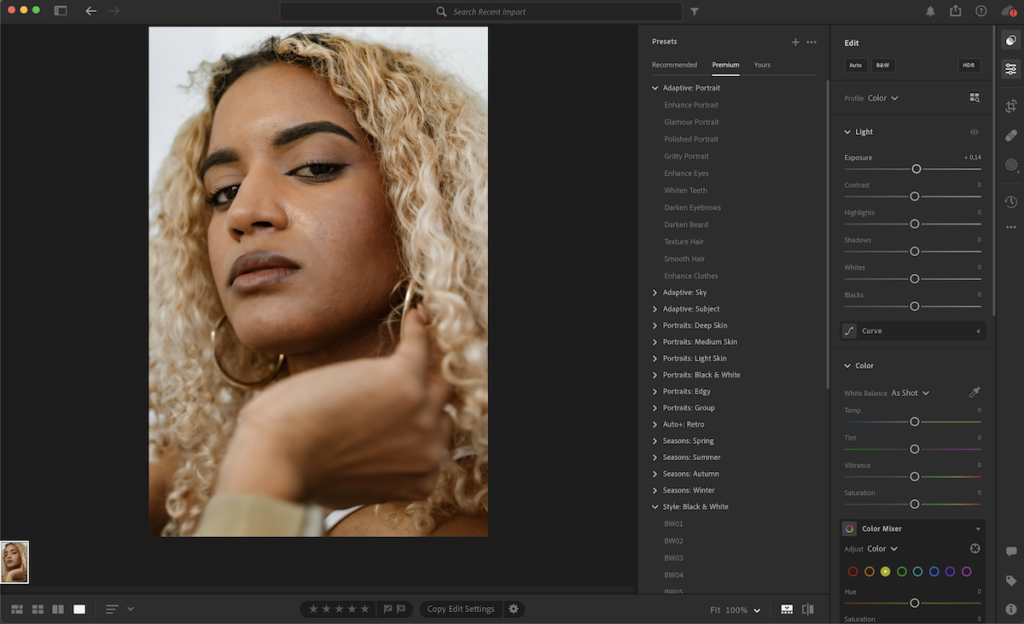
I’m using the Lightroom desktop app on my MacBook to show you what I’m doing. Open a portrait in Lightroom and follow my steps to see what some of the possibilities are.
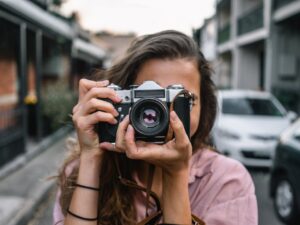
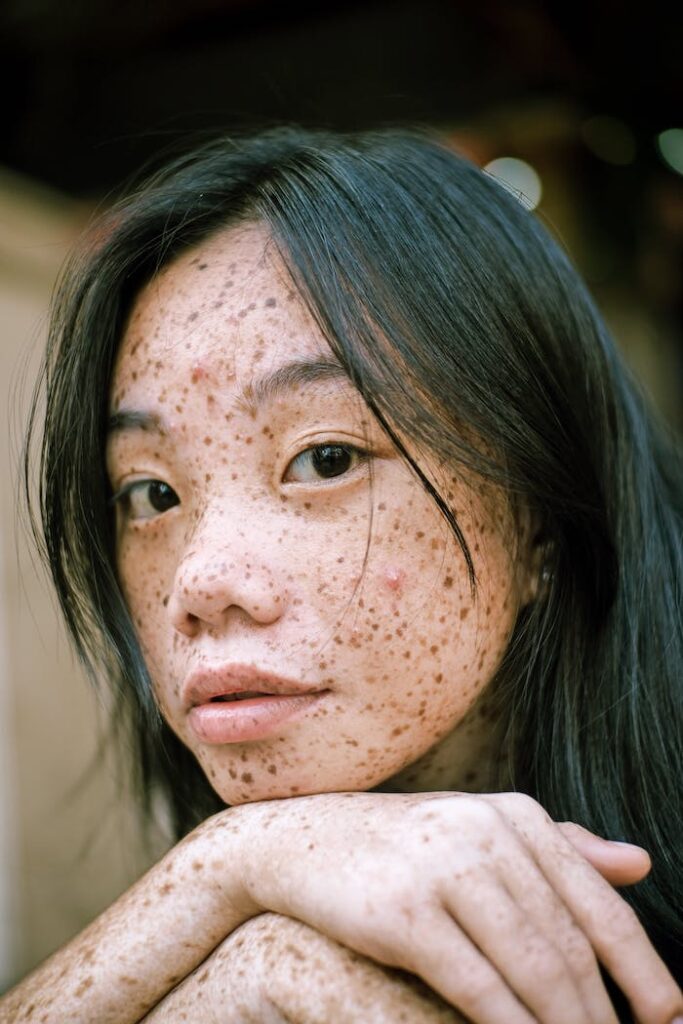
I’ll use this one, because it looks very natural, and could use some editing to allow her beautiful face to look its best.
Step three: choose colors & atmosphere
Choose the atmosphere you want for your photo. Warm, soft, harsh, flat, whichever you prefer. I think this lady looks so tough but sweet at the same time, and I think I’ll try to add to that with my editing.
Step four: how lazy are you? 😉
If your answer is: ‘quite’ or ‘very’, proceed reading this tip.
Check out the top right corner of the Lightroom screen. You’ll find this icon:

That the Preset icon! Choose a style in the Preset list and play around with them. The changes might be good enough as they are, or they might inspire you to try out a new style for your editing.
Step five: I want to do it myself!
That’s totally understandable, as well! When editing, pay extra attention to these points:
- Skin color
Don’t change the model’s natural hue. It won’t do the photo any good.
Warmer tones, please. Unless you want the model to look sick. - Skin smoothness
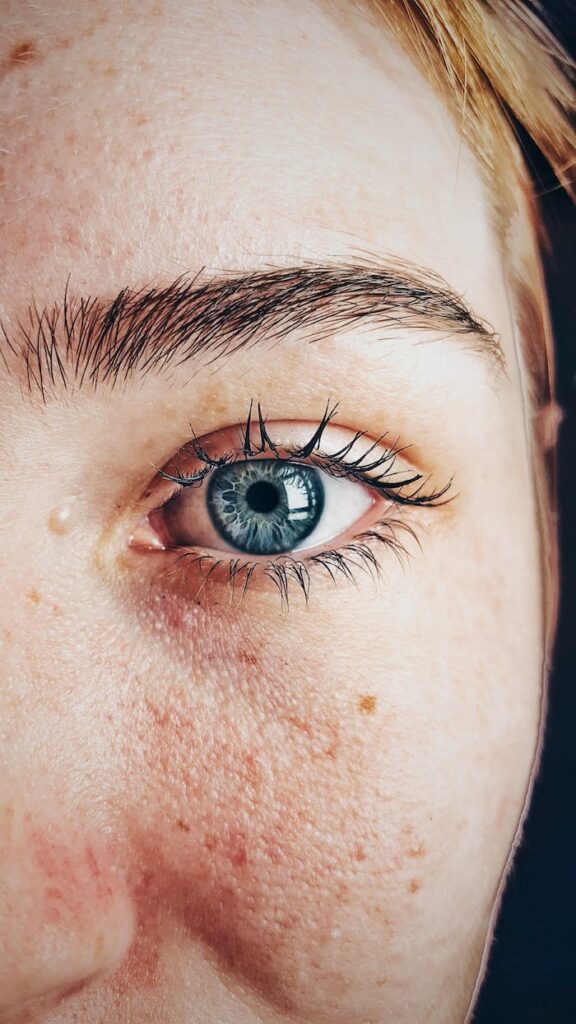
We usually like to look at smoother skin, but definitely do not overdo it! - Eye color
Does your model have a pretty eye color? Make them pop! - Eye sharpness
Unless you have a very, very good reason not to, make sure the focus is on the eyes of the model. - Background
Make sure that either the background is there to add something to the photo, or to make sure it doesn’t attract attention at all. So make it blurry, make it black or make it white … but whatever you do, make the model the subject of the photo, with no distractions.
In my opinion, these are the most important tips to give you the best possible chance of a pretty portrait. Let me show you what I did to my portrait, using Lightroom.
- Texture -11
- Dehaze +12
- Ratio to 3:4
- Blacks -28
- Healing brush (open with h key on your keyboard) for ‘fixing’ skin imperfections
- Eyes to +184 – (Eyes improvement with mask, open with m key on your keyboard)
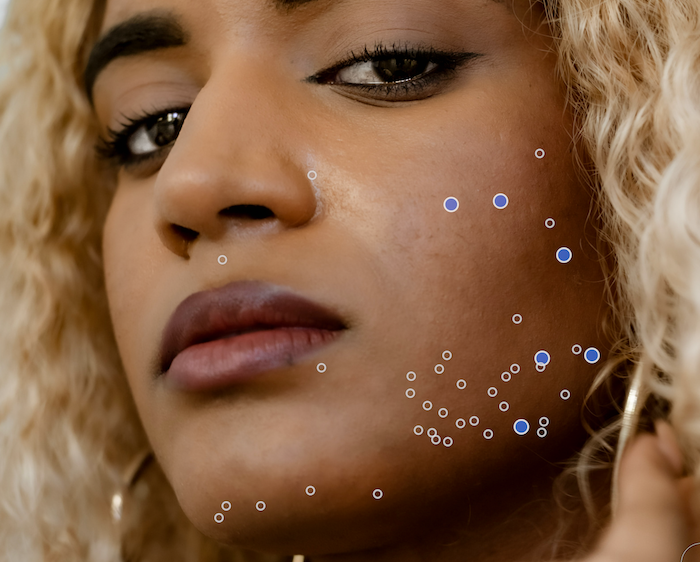
Make it cover the spot you want to fix.
Not smaller than the ‘imperfection’, but not too big either.
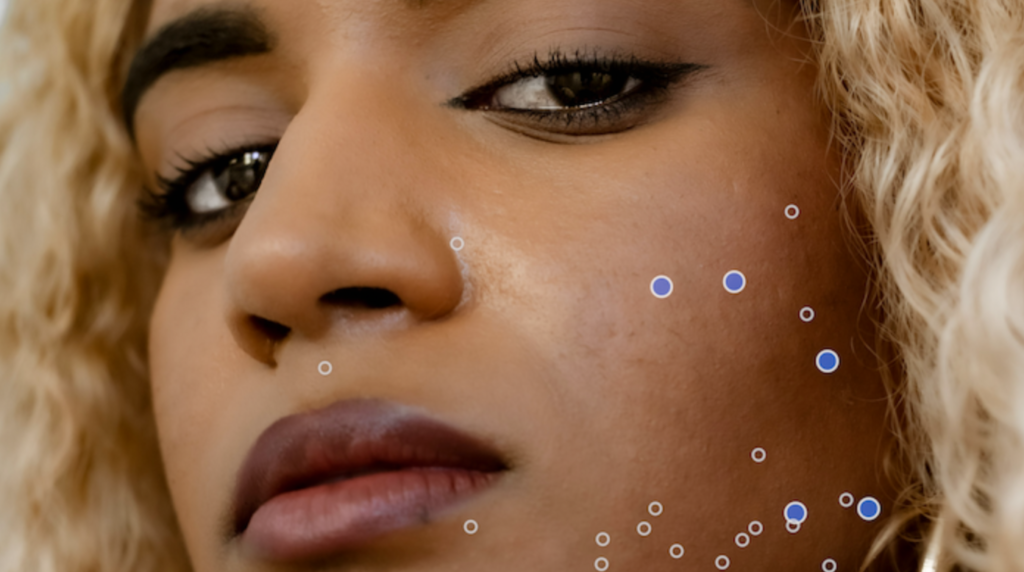
AI in Lightroom
Lightroom is packed with AI. That’s how it knows where te eyes are, what the face is, etc. Easily select the face from the list. The face part is highlighted in the list. That means the button looks different for each photo.

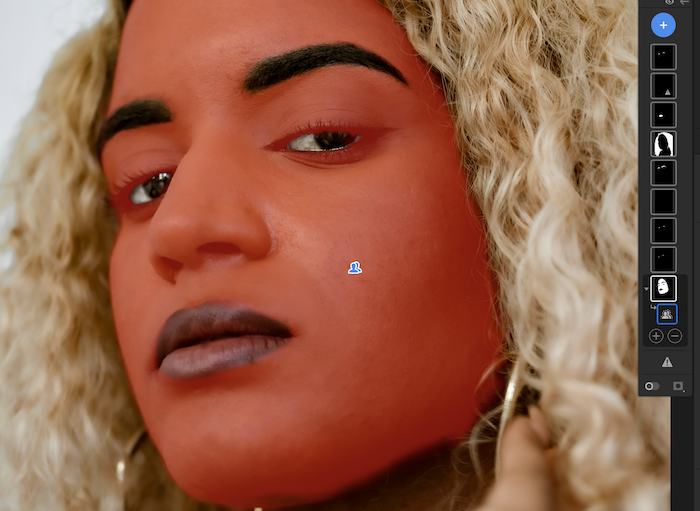
The selected part of the photo turns red and it adds a little blue icon to show you what is included, so you can see exactly what area you are focusing on. Hover on the black and white icons to see which areas the AI detected and are ready for local editing.
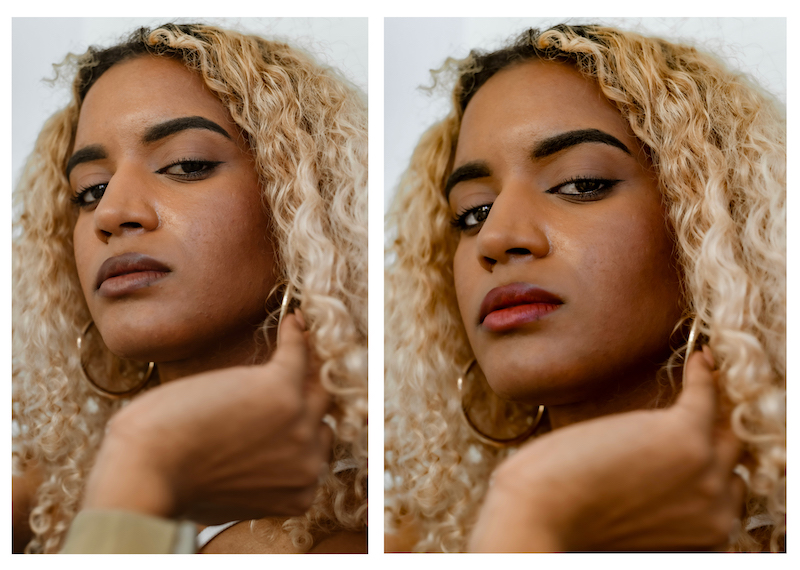
The only thing I have changed to the face here is the exposure slider. I’ve set it to -0,24. This makes the color a bit warmer. The next thing I did, was select the lips. The model has pretty, full lips. I want to highlight those by making the color pop a little more. I’ve selected the black and white icon to make my adjustments. I have put the saturation slider all the way to the right, to make the lips more red.

Step six: export it to whichever file type you want, and go and do something else
Why do something else? Because if you have been staring at your portrait for an hour, it gets increasingly difficult to see it objectively. Come back to your photo later, and see if you still like it.
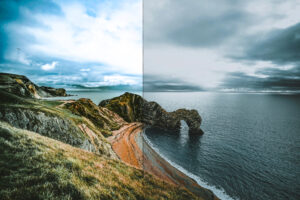
Before and after
So, I have added a little warmth, a little color and a little more personality. Still, every photographer edits in their own ways and everyone has different taste. Just make sure to pay attention to the model, making her look natural and play around until you feel the photo is perfect.
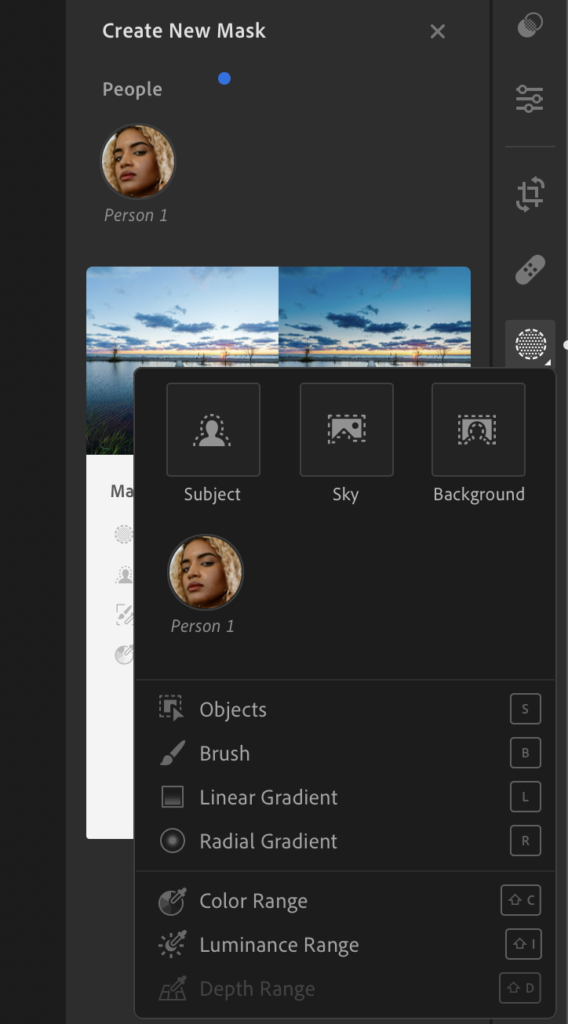
If you like a smoother result, you could smoothen the skin on the model’s cheek. Don’t overdo it by adding too much blur, as you want to keep it natural. If you overdo it, it would look like the model was wearing a mask. So, make sure to make changes only to the specific part of the face you want to edit. To do this, you will have to create a mask. Long-click the circle button on the right side of the screen to see a menu pop out. Click ‘Brush’ and paint the part of the photo you want to edit.
After brushing, note that the menu has changed. You can now make adjustments to the area you have selected.
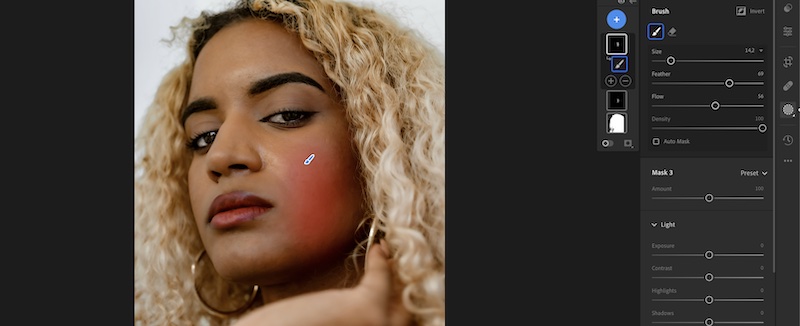
All I have done, is lower the contrast, texture and clarity. Each to about -50.
This is the end result
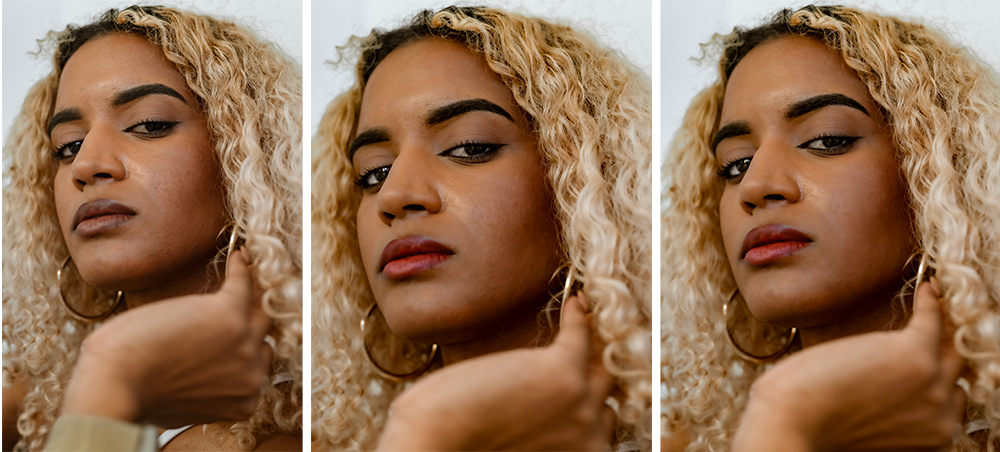
So, these are the before, middle and end result. I hope you learned a little bit about Lightroom while reading this. If your portrait is done, consider to have it printed! Portraits can be amazing additions to any home. Check out the Xpozer sizes and prices here: www.Xpozer.com.