At Xpozer, we like to keep up with all things photo-related. We try new camera gear, learn all there is to know about the print market, and keep up with new software. I’ve recently tried Radiant Photo for the first time, a new photo editing software created by photographers. Here are my experiences so far. Spoiler: your photo has never been print-ready quicker!
So, I stumbled upon Radiant Photo and wanted to try it for myself. I can’t say I’m disappointed. Their software can be used without any subscriptions. GREAT!
Radiant uses presets and looks
Before I started actually editing a photo, I downloaded some cool looks and presets from their marketplace. There is something for everyone. Some looks and presets are especially made for black and white, some for a grungy look and feel, some for portraits and some especially made for flower photos. I picked my favorites and added them to the Radiant Photo software. A fairly quick process.
I chose a photo I wanted to try the Radiant AI on. The AI analyzes your photo and its subject(s). This is a super quick process, which is quite refreshing. There’s no need to wait for anything at all. Contrast, lighting, brightness and contrast are all edited immediately. There is no need to wait. Radiant is like the speedboat of photo editing software. Which is probably easier to build if you don’t have thousands of options in your software.
So, Radiant’s focus lies heavily in presets and looks. You can also make your own. That saves you a lot of money, because the prices of presets and looks range from 15 to 50 dollars at the moment. Most are 15 to 25 dollars, though, the 50 dollar one is an exception.
The editing process
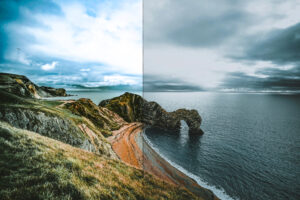
So, back to my photo. I opened a photo I made in the fall while walking through the park. It was quite dark and not that interesting, to be honest, but I like mushrooms! So, this is the before photo:

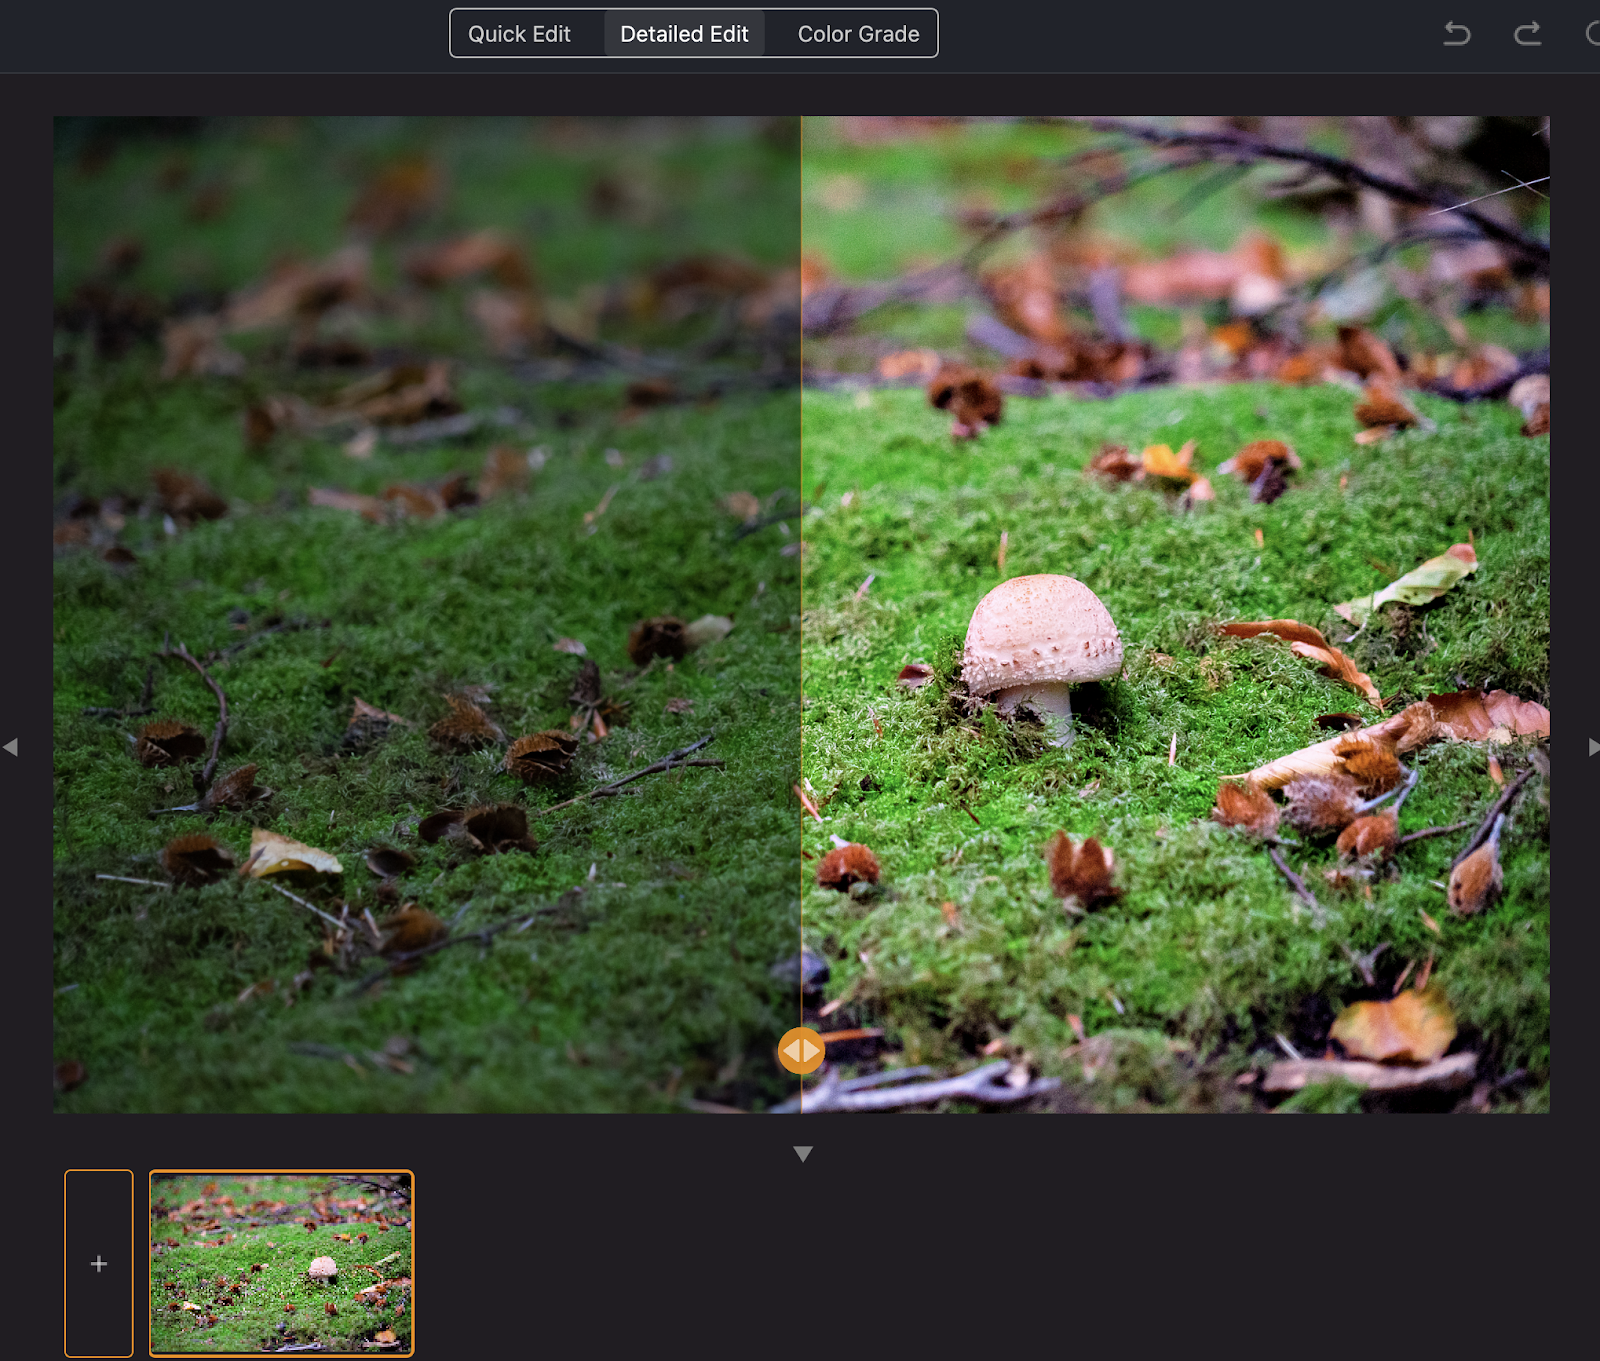
This is what it looks like right after importing the photo into Radiant Photo:
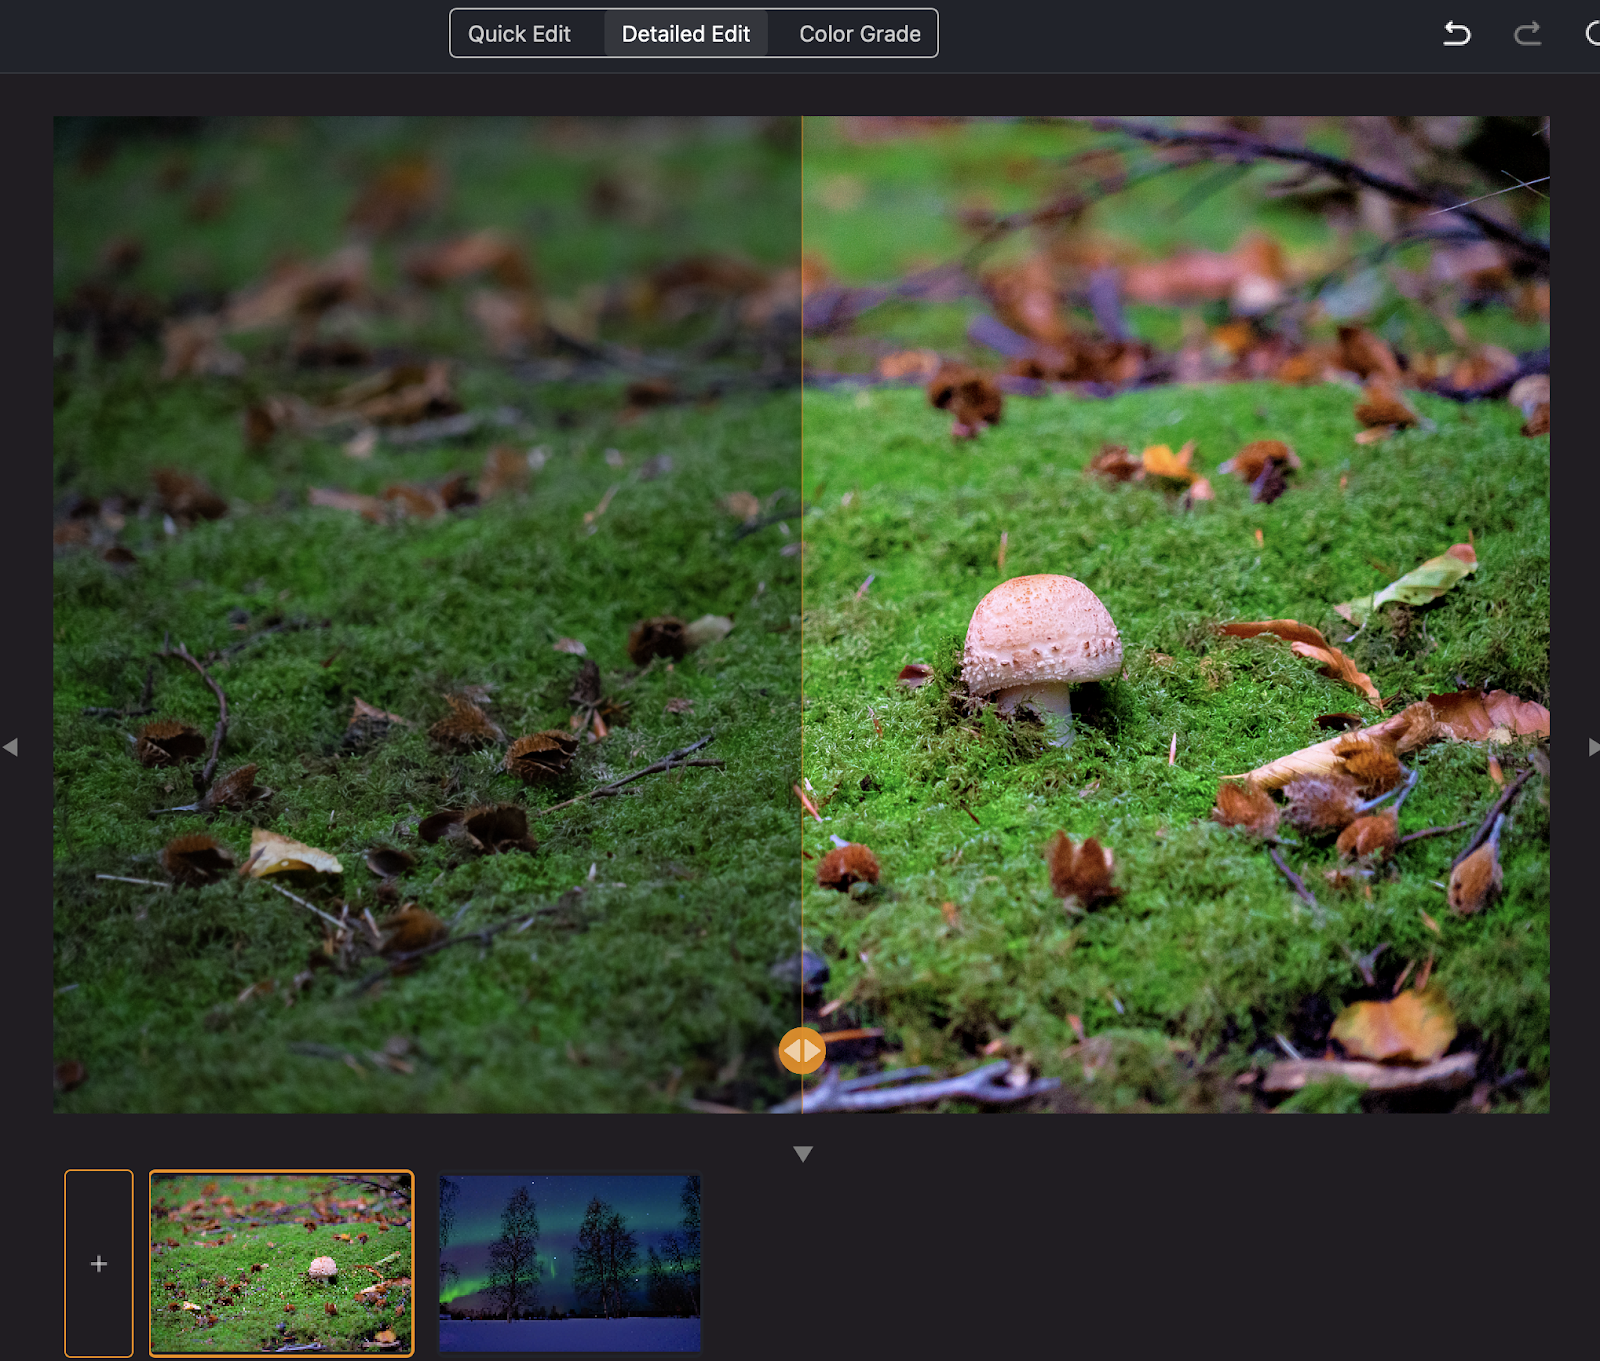
And after a minute or two of playing with the sliders:
TIP:
Make sure to make your photo a bit brighter than usual,
because your photo will appear darker on print.
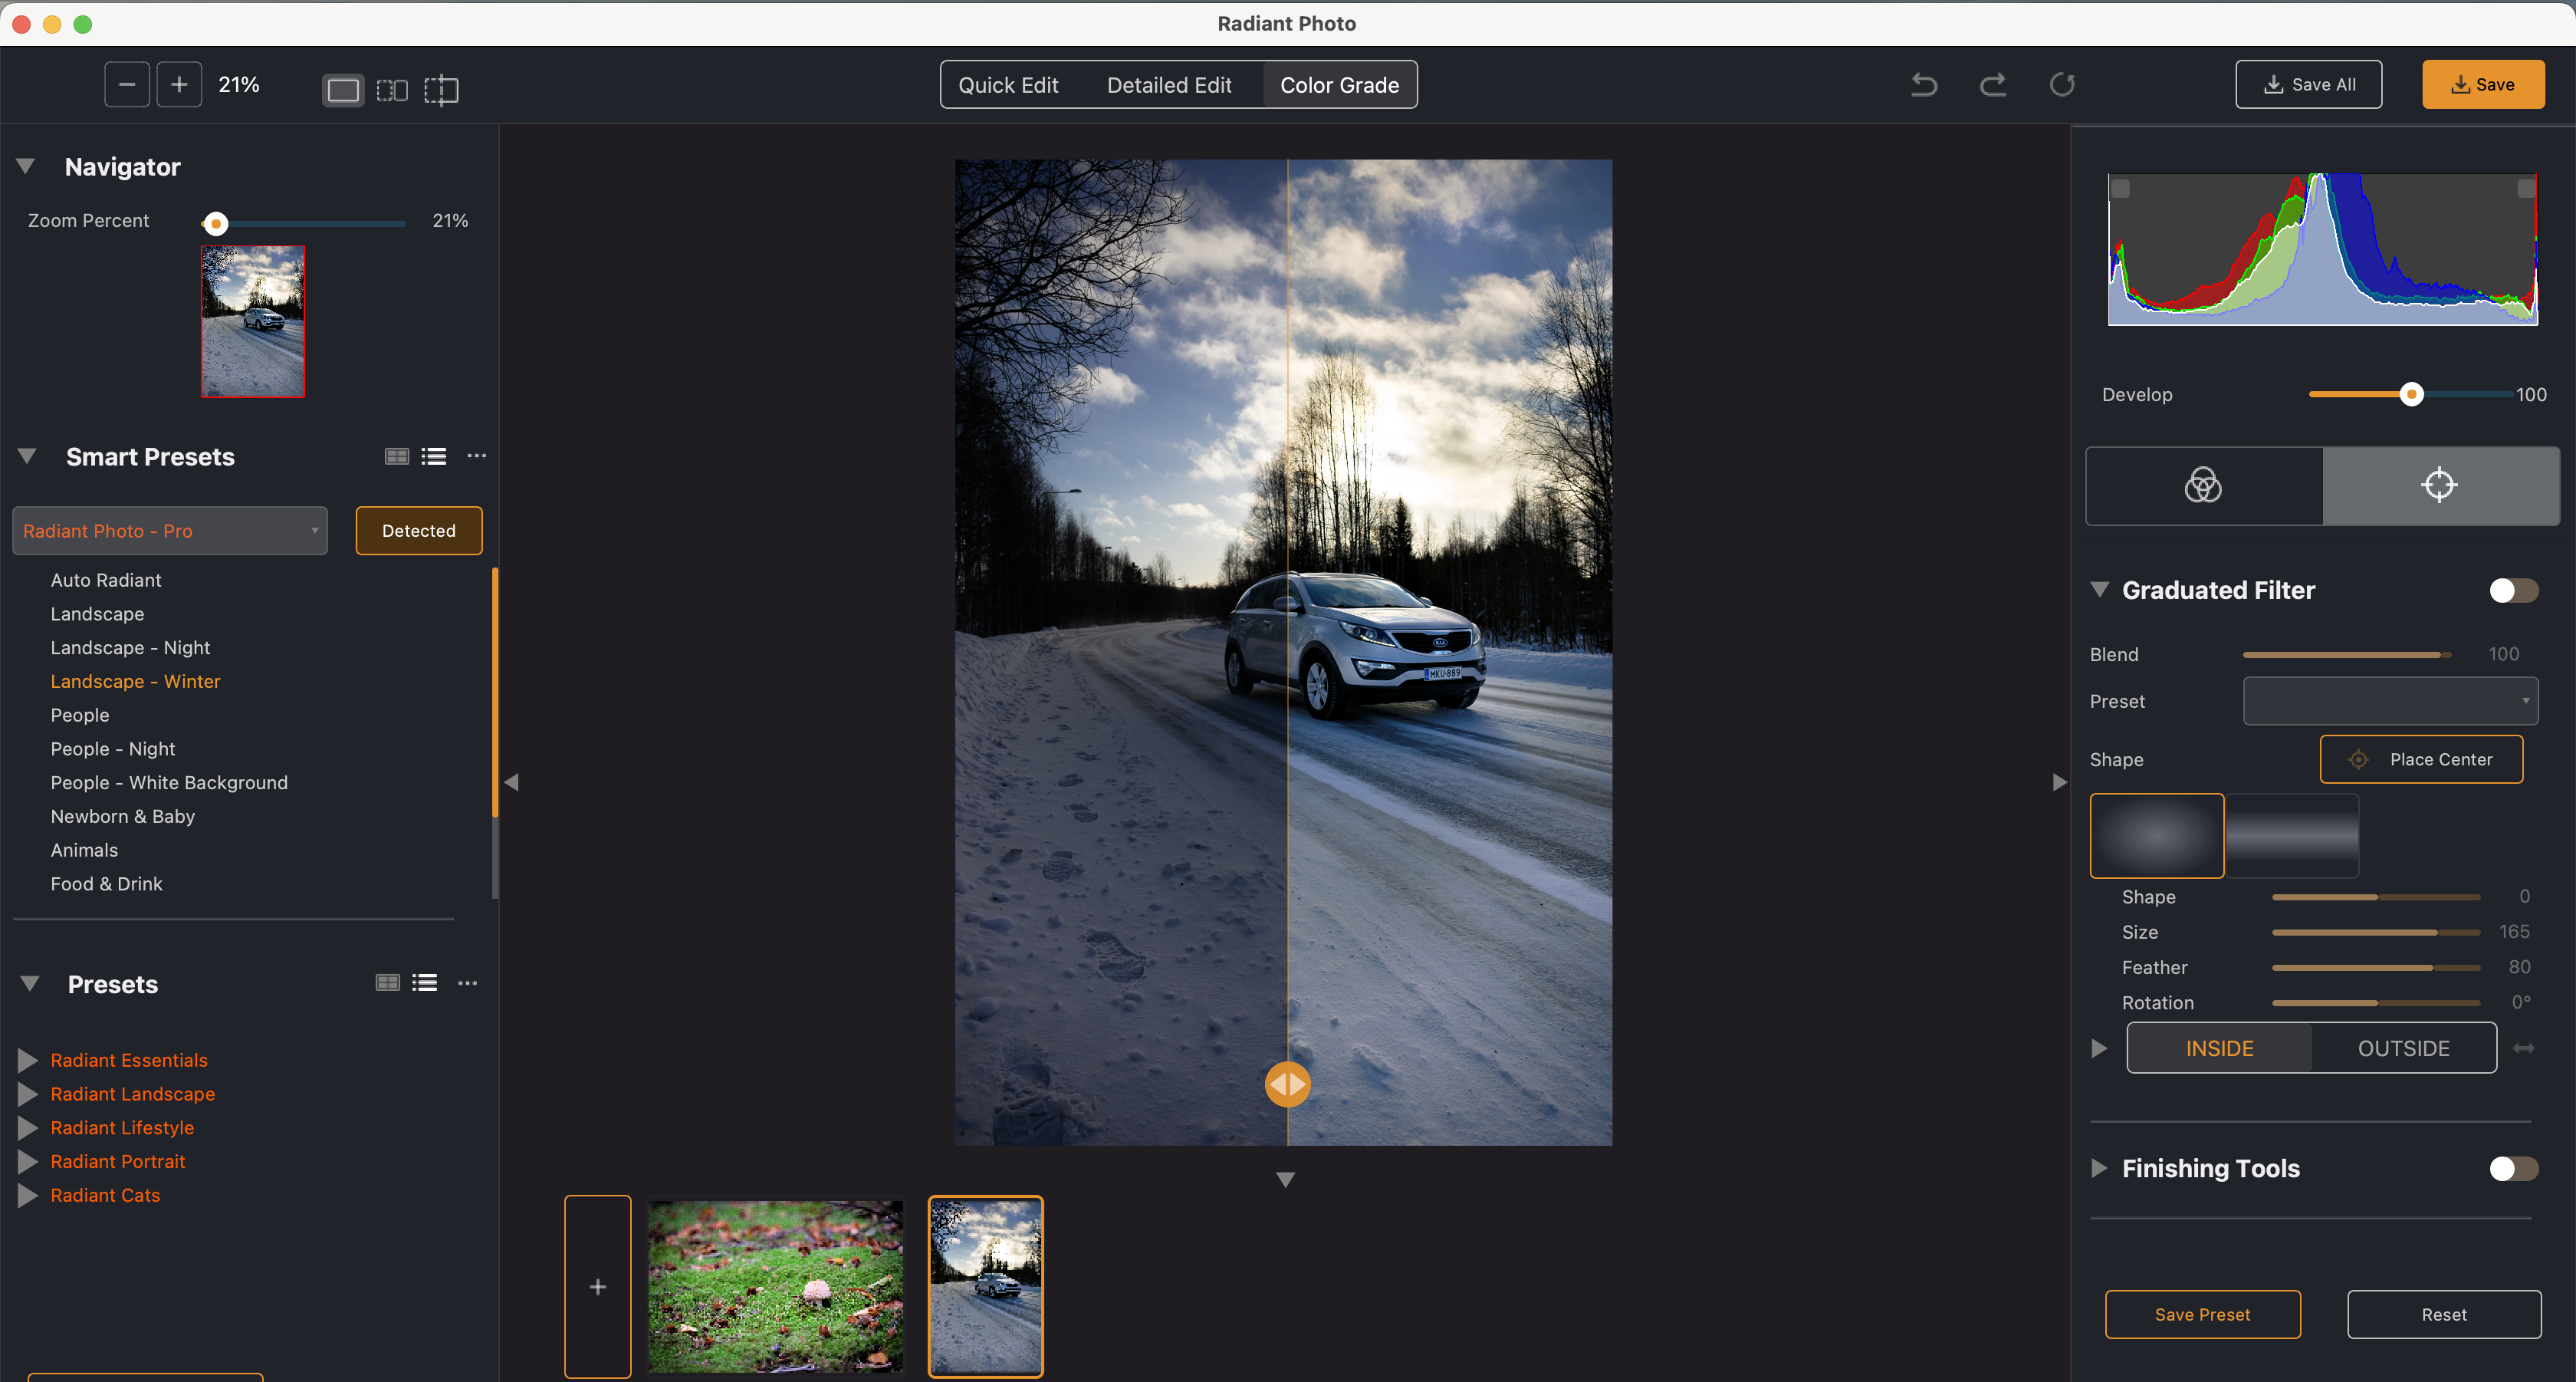
There are 3 tabs for your editing menu: Quick editing, Detailed editing and Color Grade. Just like in most photo editing software, you get to play with sliders to make changes. Because the software is so quick, your photo will be ready to print in no time!
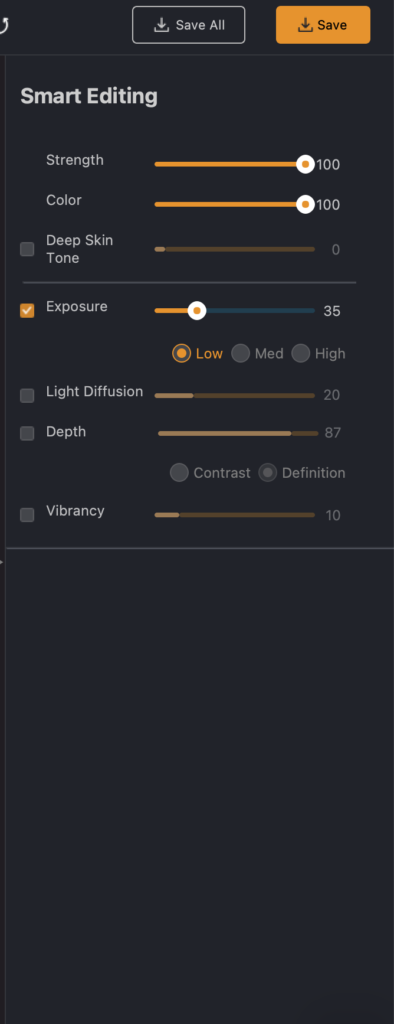

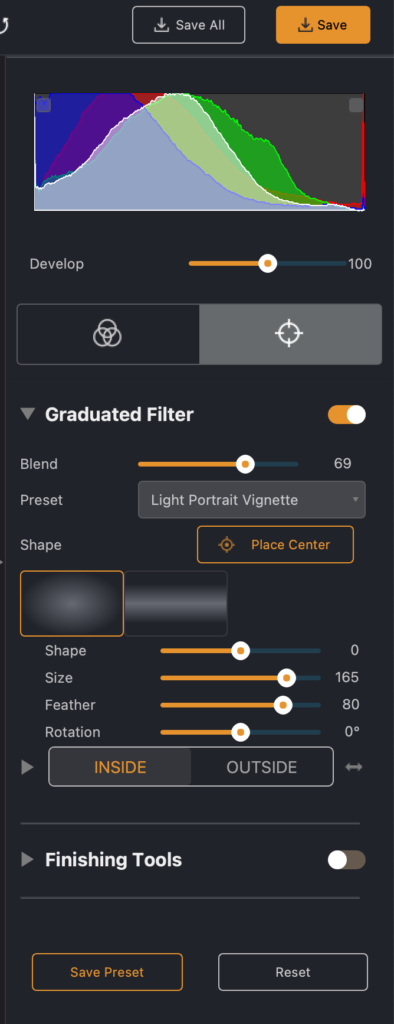
After exploring all sliders and playing with them, I’m quite happy with these basic changes to my photo. Using Radiant Photo is a quick and easy way to take the first step in the editing process. If you need to change or fix anything in only part of the photo, then you’d have to use Lightroom, Luminar or any other type of more elaborate (but also quite a bit slower) software.
Radiant Photo has a trial version, so you can try it for free for 2 weeks. Go here: https://radiantimaginglabs.com/try/
I hope you have fun trying new things as well. Let us know if you have found something new you liked, too!