This article about urban photography was written by Xpozer’s ambassador Olivier Groot. Known for his work on Instagram by Hexashots and from the community Dutch Shooters.
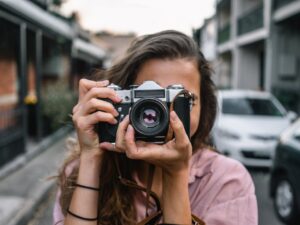
I am incredibly honored to be hosting this urban photography challenge by Xpozer as an avid urban and city photographer. I love getting out there, catching those early morning rays & capturing all the different aspects of the city. In this blog I will break down the different styles one can shoot in a city and how I approach each different kind of photo.
Street Photography
Street photography is one theme in urban photography. For street photography you will need to be very undercover and not make yourself look like a photographer too much. The art is in catching the authentic and rough scenery, without interrupting people in their daily lives. Running around with a 70-200 definitely will make you stand out among the crowd. Your subject will most likely recognize that they are being photographed. Therefore it is best to shoot with a 35 or 50mm prime. If possible, use the manual focus preset on the hyperfocal distance to the subject that you will be photographing. This will allow you to run’n’gun while not interrupting your subject in their daily commute or routine. It will definitely take some practice to shoot blindly like that. After a while you will be able to point your camera correctly at the flick of the wrist. If you are not comfortable yet with this type of photography, take a longer focal length and shoot around a corner. That way people won’t notice you as much.
Special photo tip
For these kinds of photos it works really well to find a scene with only one person around. It makes it look like an apocalyptic, striking image. During the COVID lockdowns, you could go to Amsterdam from the early morning hours and find a completely desolate city. You could take photos that we hopefully won’t be able to replicate any time soon.
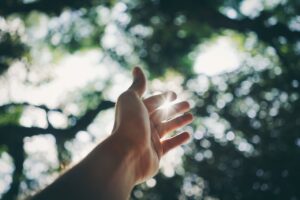
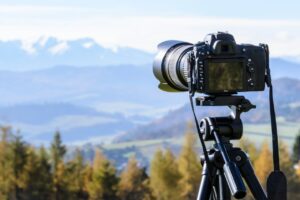
Light
Photos always benefit from good lighting. Visualize how you want to capture a scene. Find out which time of day would be best for your purpose. This type of photography does not at all require technically perfect images. They are more about capturing the raw emotion and vibe of the setting.

Lens model: FE 16-35mm F2.8 GM * Aperture value: 2,9709 * Exposure time: 1/80 * Focal length: 35mm * ISO: 250 * f-number: f/2,8

Lens model: FE 100-400mm F4.5-5.6 GM OSS * Aperture value: 4,9709 * Exposure time: 1/640 * Focal length: 262mm * ISO: 100 * f-number: f/5,6
Architecture photography
Of course, architecture plays a big role in urban photography. There are countless different ways for photographing architecture in a city-setting. There is not a certain method that is the best. It does help to know at which angle you want to shoot, though. Taking photos from the street gets you an image that everyone has seen before. Try to find a different angle. You can try to find a rooftop bar to get your unique vantage point. To manage to fit the whole building in the frame, it helps to bring a dedicated wide-angle lens. If you do not have one, you can take a panoramic of the building!
keep your Vertical lines straight
Keep your vertical lines as straight as possible. Failing to do so, will make a building look like it’s falling backwards. You can even go as far as to bring a tilt-shift lens to correct or the vertical perspective. That is definitely a very advanced and time-consuming technique, so I wouldn’t necessarily recommend it.
light
Managing light, shadows and reflections can give you an edge. Bringing a ‘Circular Polarization’ filter can help massively. You will have more control over the brightness of the sky, and what you will be able to see in each reflection.

Lens model: FE 16-35mm F2.8 GM * Aperture value: 2,9709 * Exposure time: 1/100 * Focal length: 16mm * ISO: 100 * f-number: f/2,8
A nice trick to make the whole image come to life, is to use a tripod and a longer exposure (small aperture or ND-filter). This makes human figures and cars moving in the foreground become motion blurred. This will give it a much more crafted and thought-out feel instead of just a snapshot!
The line up
Now this is something completely next-level to work out, but in my opinion these are always worth it. The position of the sun and the moon is known and there are a few apps and websites to predict where these will be at a certain point of time. Using this knowledge you can line up your images with the position of the sun and/or moon. This is often done in the United States, as they have very long streets & avenues, but it can definitely be used anywhere around the world.
For example capturing a setting or rising sun or moon in combination with a landmark building in your area. This will give it a sense of scale especially when captured with a (super) telephoto lens. You can for example use Google Earth to scout out a certain look and direction and then combine that with the knowledge that you have acquired in apps like ‘Photopills’ or ‘The photographers ephemeris’. This type of photo definitely requires you to be well ahead of time to set up all your gear correctly and get the settings right. That only leaves you to hit the shutter button when all elements in you image line up perfectly

Lens model: FE 16-35mm F2.8 GM * Aperture value: 8 * Exposure time: 1/40 * Focal length: 16mm * ISO: 100 * f-number: f/16
Night Photography
Now this is a style of photography that could have its own separate blog, but I’ll break down a few points for night photos in the city. There are a few things that you’ll need:
- Tripod
- Camera with manual settings
- A lens that potentially is able to create nice sun stars
- A good list of locations that you want to attend.
What makes these night photos most exciting is a sense of depth. Get down on the ground, use reflections of the recent downpour and possibly a light trail. All this can get you outstanding night shots without too much effort! The settings I normally use vary with the brightness of the scene. I love stopping down the aperture to get the streetlights with sun rays, and to be able to get the long exposure for the light trails. Combine that with a nice backdrop of architecture and you can capture completely mesmerizing photos from a city at night!
Pro tip: Bring a remote shutter to prevent the camera setup form moving after pressing the shutter

Lens model: FE 16-35mm F2.8 GM * Aperture value: 2,9709 * Exposure time: 1/80 * Focal length: 16mm * ISO: 100 * f-number: f/2,8

Lens model: SAMYANG AF 50mm F1.4 II * Aperture value: 0,9709 * Exposure time: 1/125 * Focal length: 50mm * ISO: 640 * f-number: f/1,4
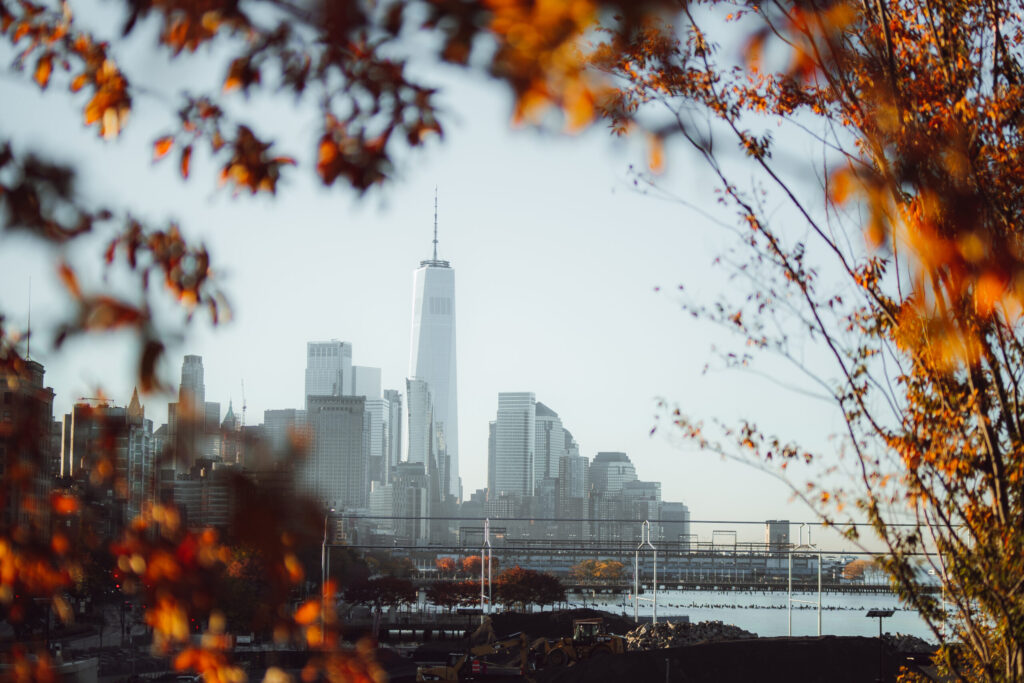
The peek-through
One of my favorite photos to take in urban photography, is one with a blurry natural foreground, and the city in the background. As you can see in this image, I was obviously helped by the impressive city that is New York City. Still, I’ve always loved getting this subtle foreground blur, pulling you right into the photo. Fall and spring are the best seasons for this, as the plants are either vibrant green or nicely browned.

Lens model: SAMYANG AF 50mm F1.4 II * Aperture value: 0,9709 * Exposure time: 1/6400 * Focal length: 50mm * ISO: 100 * f-number: f/1,4
I only brushed the surface of these specific styles you can shoot in a city, but I hope it has been helpful in preparing you for this photo competition! I am incredibly humbled to be hosting this competition and I am looking forward to see all your results!
Good luck!
Olivier Groot – @Hexashots