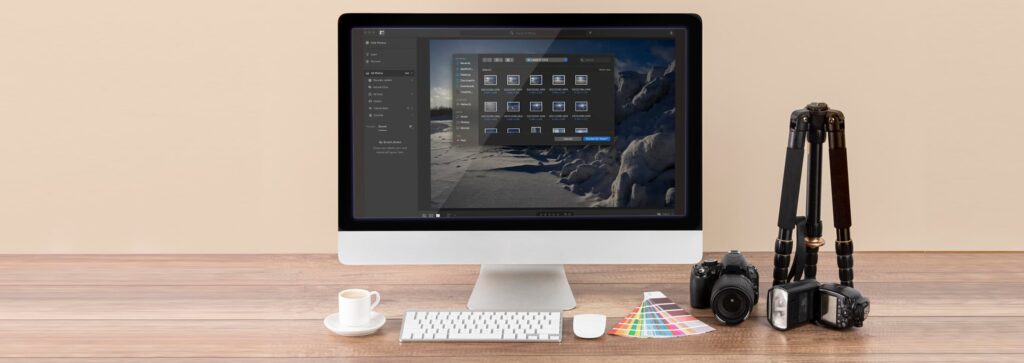
A few weeks ago I wrote the article This is how to use Lightroom to make a photo selection . I hope it helped you make the first rough selection of your photos. In this article, I’m going one step further. I’m going to help you make your final decision based on the composition and sharpness. The video below is probably going to be of big help.
Tip: Watch ’til the end! Don’t miss out on Anne’s tips for matching your photo to your interior!
So, how to choose the best photo for your wall?
There are a few things you can do to make sure you’ll love your photo on the wall. I’ll give you the most important ones right here.
how do you feel about the Composition?
Are you happy with the composition? Check and see if the composition feels balanced. Adobe Lightroom can help you out with this.
Lightroom: View > Edit Tools > Crop & Rotate → Press the letter ‘o’ button on your keyboard to switch composition style guidelines.Lightroom Classic: Tools > Crop Guide Overlay → Choose different overlays and see which composition style fits your photo best.
The grid lines in the overlay are there to help you choose a balanced composition. Here are some of them explained:

Rule of Thirds grid lines over my photo in Lightroom.
(Rule of) Thirds works like this: If important areas in the photo are placed where grid lines cross, you’re good!

Golden Spiral grid lines over my photo in Lightroom.
The golden spiral works a little different. It is all about a certain flow in the photo. If your eyes move along the ‘leading lines’ in the photo just like they do the golden spiral, your photo’s composition follows the golden spiral composition style.

Diagonal grid lines over my photo in Lightroom.
Diagonal ‘lines’ in your photo can make it a lot more interesting. They don’t necessarily need to follow the grid lines exactly.
Now decide if you need to change anything about the composition in your photo. Either make changes by cropping, or change color/brightness/vibrance to make certain areas in the photo stand out more or less.
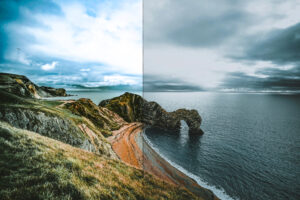
a great photo is sharp in the right places
If you are going to enlarge a photo and hang it on the wall, you are going to want it to be razor sharp. So, open your photo in Lightroom, zoom in to 100% and see if it’s sharp. For a smaller print size, you might not have to zoom in that far. Your photo’s sharpness might be acceptable if it’s still sharp at 80%, depending on the print size, of course. And if your photo is not sharp enough, you can use sharpening in Lightroom (or Photoshop, Luminar or different editing software). Be very careful when using sharpening, because it only turns out well if you use it a little bit. There’s only so much the software can do, and overdoing it leads to ugly and weird-looking photos. So, don’t take it too far.

will it fit Your interior style?
You will be so happy with your photo on Xpozer, especially if it totally fits your interior! To make sure that it will, try this trick before you order:
- Take a photo of the wall you want to hang the Xpozer. Include furniture and the floor in the photo. Those will all have to work well together.
- Open the photo in Photoshop, Luminar or any other editing software.
- Now open the photo(s) you are considering to hang on the wall and place them on the wall. Just like the real thing, right?
- Choose your favorite photo, choose a size and order your photo on Xpozer.

Ready?
I think you’re ready to make a final decision now. If you have any questions, feel free to ask! And if you want some help editing your photo, you are welcome to request a Photo Optimization here >
If your photo is 100% finished, order your photo on Xpozer here >