Bird Photography – So you wanna shoot some birds? As long as you do it with your camera: great idea 🙂 This is what you need to know!
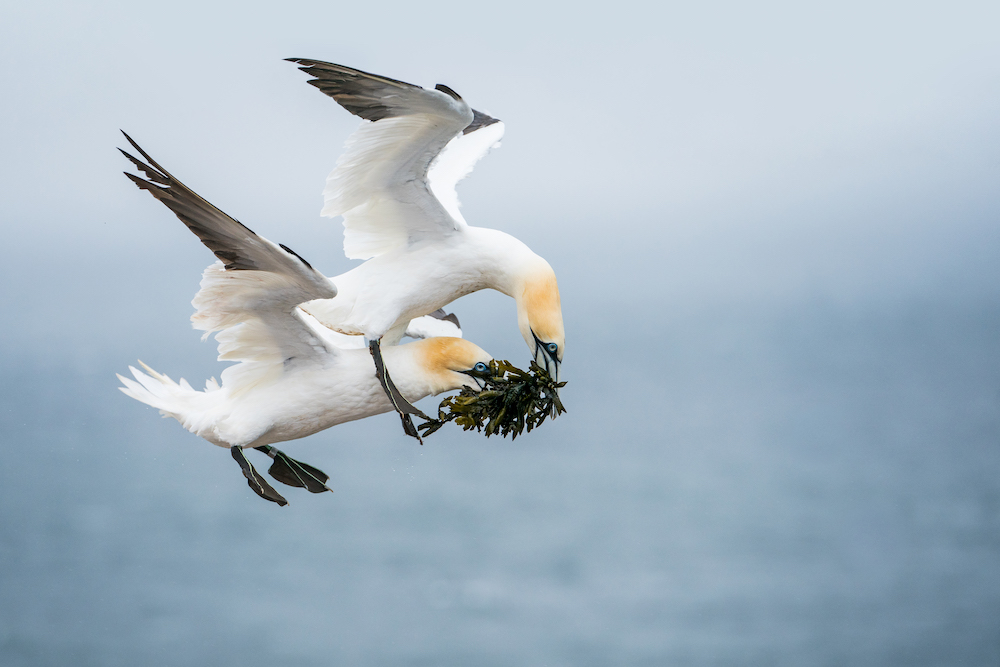
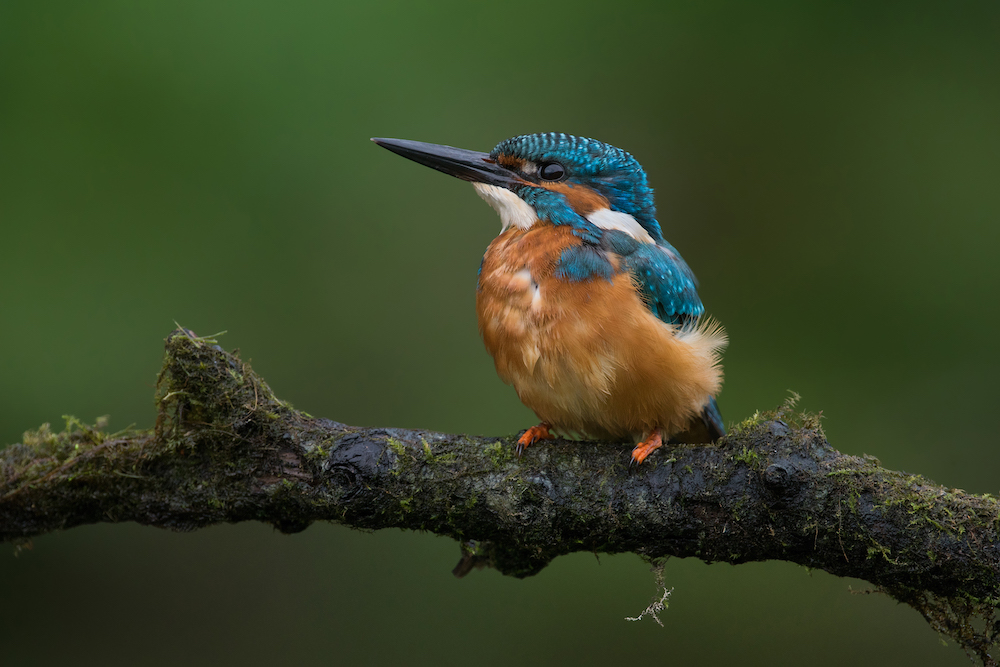
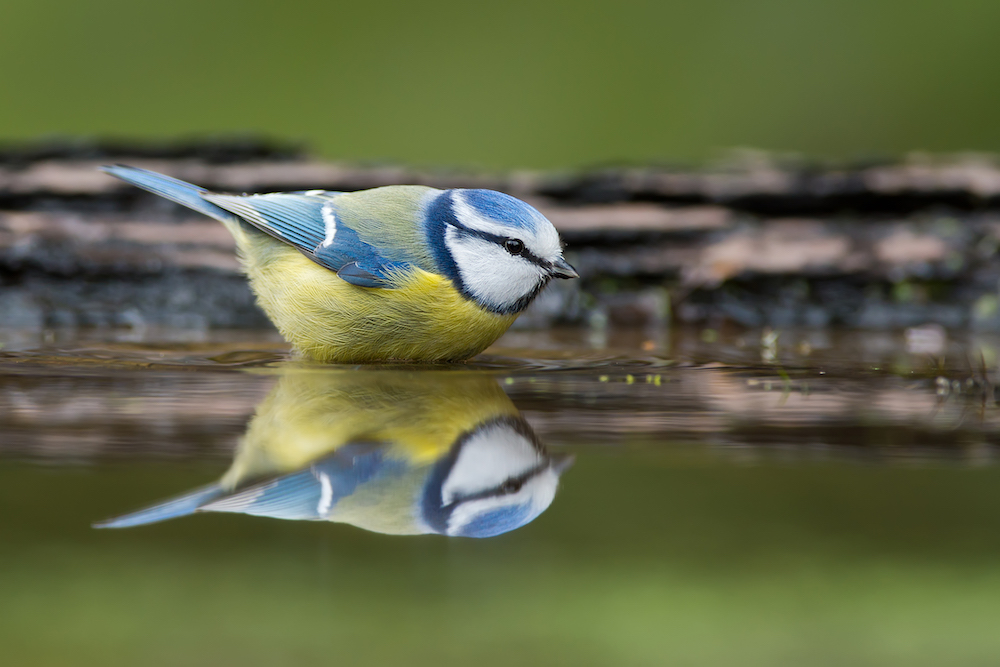
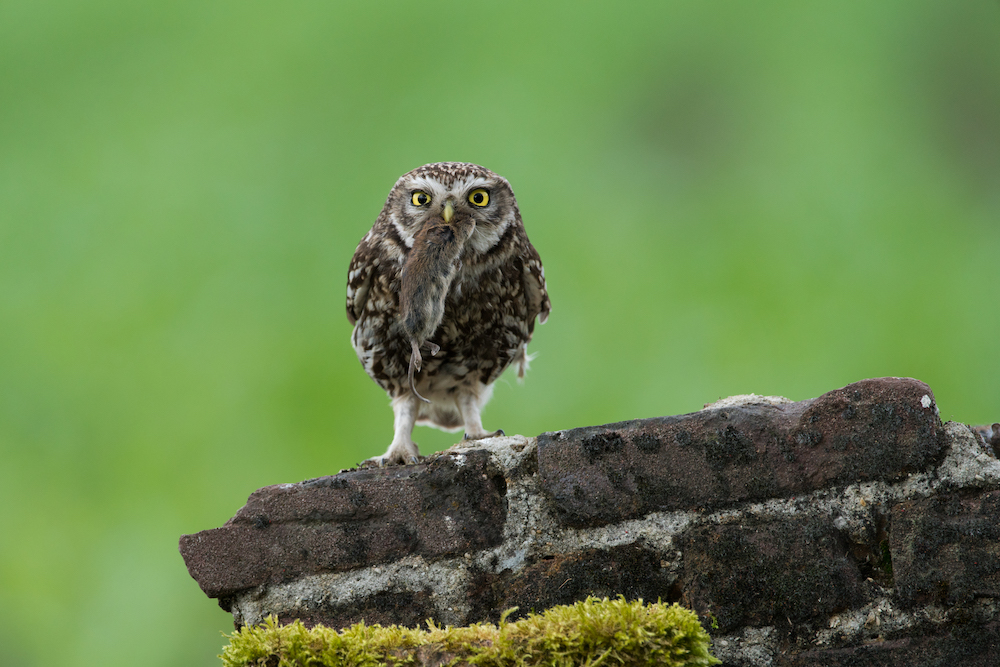
Our amazing brand ambassador Gustav Kiburg is an award-winning wildlife photographer. He is probably most famous for his breathtaking and rare shots of the European kingfisher. As a big fan of birds, Gustav taught us a thing or two about bird photography.
Camera gear and settings
Without their knowledge, the animal you’re looking to capture influences what gear you’ll have to bring. With most wildlife shoots, you’ll need to take your time and hope for the perfect opportunities to arise. When walking or waiting for a couple of hours, you’ll obviously need to prepare a well-equipped camera bag.
Lens
When going out for a nice day of bird photography, you’ll preferably bring a 500-600mm lens. Birds won’t usually sit still in front of your lens, so you’ll have to zoom in quite a bit to photograph them without disturbing them.
Body
You won’t necessarily need the most expensive professional gear, but don’t underestimate how hard/impossible it is to do a wildlife shoot with cheap gear. For one, you’ll be outdoors. Your gear needs to be able to perform well in all sorts of conditions. A robust body is therefore no unnecessary luxury. Check the settings tips below and rethink your camera body’s requirements.
These are the most important factors to consider in choosing your body:
High frame rate – Birds move and may fly away at any moment, so you’ll benefit by taking many photos within a short time frame when you finally spot one, especially when it does something interesting! High-end cameras can take 10 photos in a second and quickly write the photos to a memory card.
Megapixels – Beginners tend to obsess over the amount of megapixels. Don’t. Just don’t. 15-20 megapixels is enough.
Autofocus – Autofocus and the ability to track your subject are important when trying to capture a bird mid-flight. Autofocus needs to be quick, as the distance between you and the bird will probably change constantly.
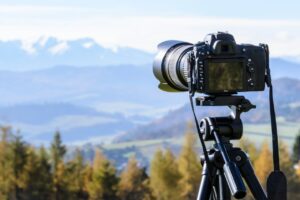
Tripod
If you want to get the most out of your (often expensive) gear, use a tripod. You won’t achieve perfect sharpness without it.
“I believe that the biggest limitation is the photographer, not the camera”
– Gustav Kiburg
What we’ve learned from Gustav Kiburg
Planning is key
Study the animal – Find out where they are, what they eat, when they breed, what they’re doing at different times of year, you should want to know it all.
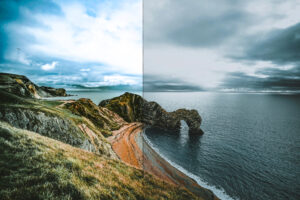
Check the weather – The type of weather has a huge influence on your photos. Gustav actually loves cloudy days, as the sky is like a giant softbox. It brightens the colors of the animals. When the sun reappears, he adjusts to the increased light to shoot airborne animals.
Be flexible – As mentioned before, animals do whatever they want. While you have planned your shot perfectly, that is no guarantee that the animal will do exactly as you expected. Therefore, flexibility is needed. Maybe the perfect shot can still be taken, even though it’s totally different from what you expected.
No luck? Try again!
If you haven’t succeeded the first time, come back another time or day. Wildlife photography takes a lot of luck. That’s still true after you’ve planned your shot perfectly. Animals do whatever they want!
Learn from your mistakes
When looking back at his own photos he took years ago, Gustav is not impressed. This is a good thing, though! It means he improved his skills as a photographer and learned a lot. So don’t feel down when you thought your photo was a “perfect shot” but now you think differently.
See your photos in real life
Gustav: I invest a lot of time, energy and money in my photography, just like many other photographers. I invest in travel, in camera equipment, in my computer and software for editing and calibrating my lenses. When I’m on a shoot in the wild and quickly scroll through the photos on my camera, I feel great when I see that I captured the moment as I wanted. Then I go home and open that image on my computer where it’s much larger, and I feel even better. But still, I’m only looking at a digital photo, and a computer screen can make photos seem better than they really are. It’s only when I print and hang my photos large on the wall that I can see the real quality of my photography and the image I captured. A screen is too easy. I want to see my photo as it really is and to relive that intense moment when I captured it. I can’t do that digitally. Only a photo wall print feels real.
Choose your Xpozer size and enjoy your photo in real life!
All photos in this article are by Gustav Kiburg